Export Mixamo animations
Learn how to import Mixamo animations into an UE5 project.
Export Animations to Project
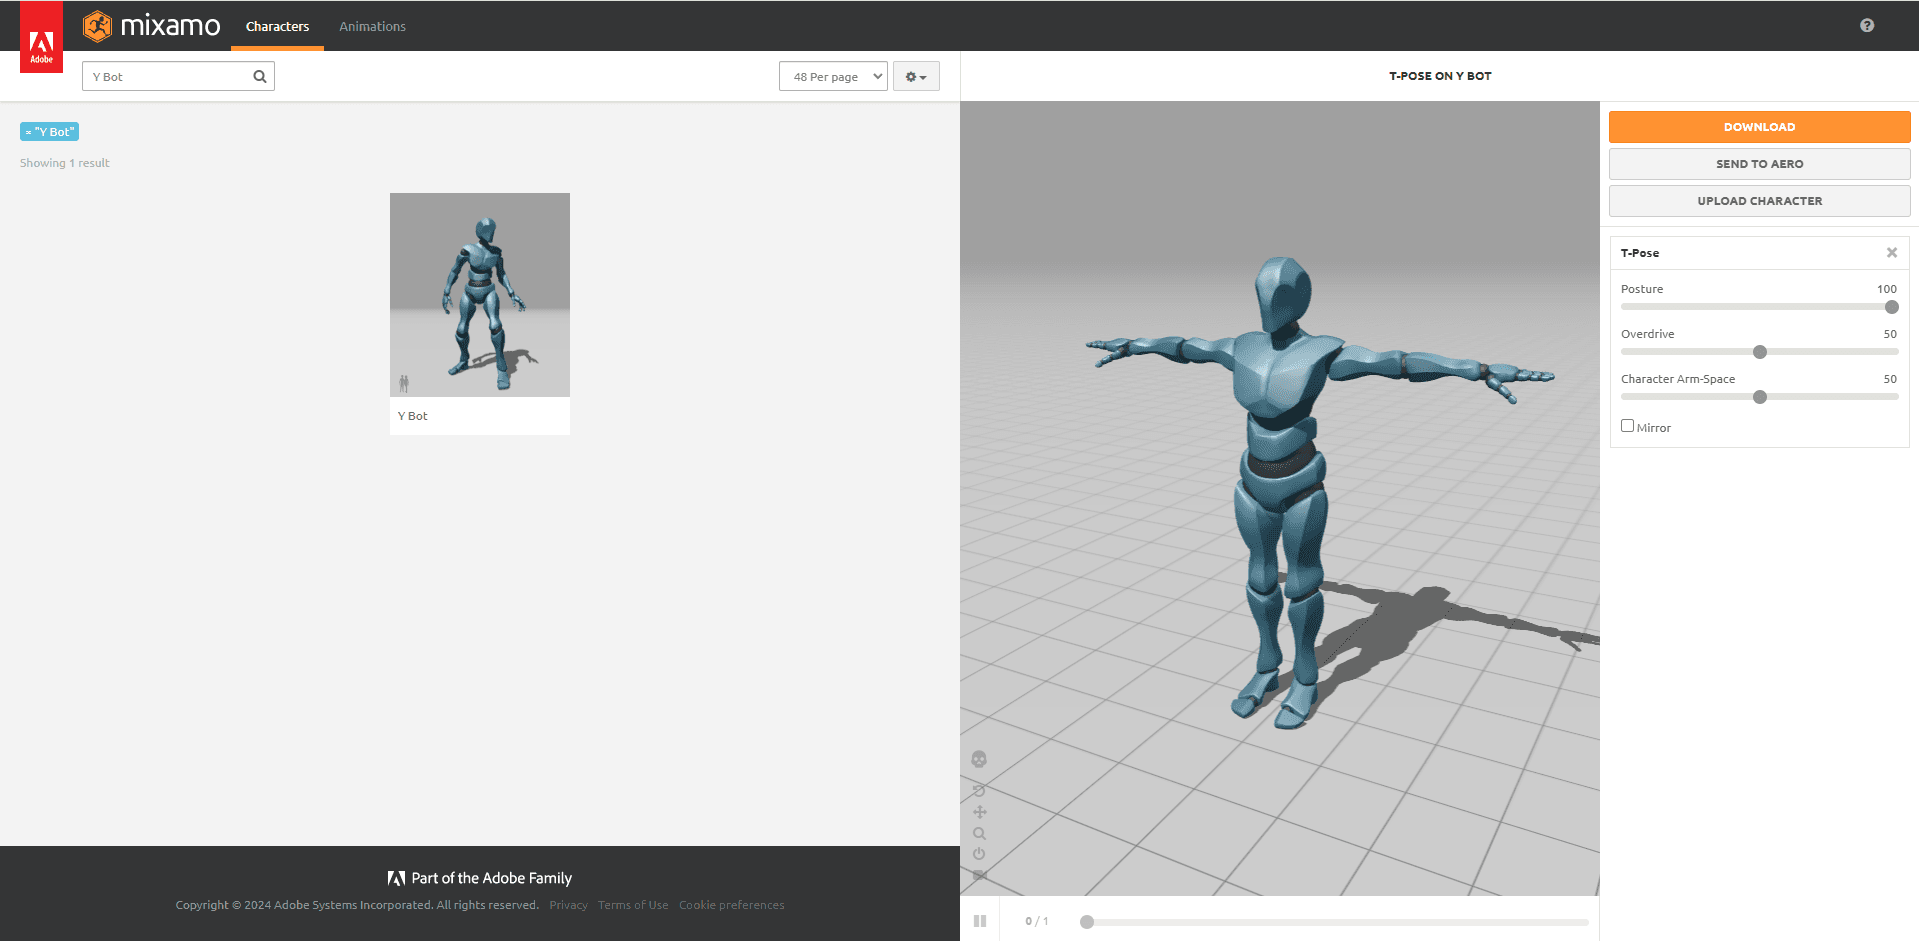
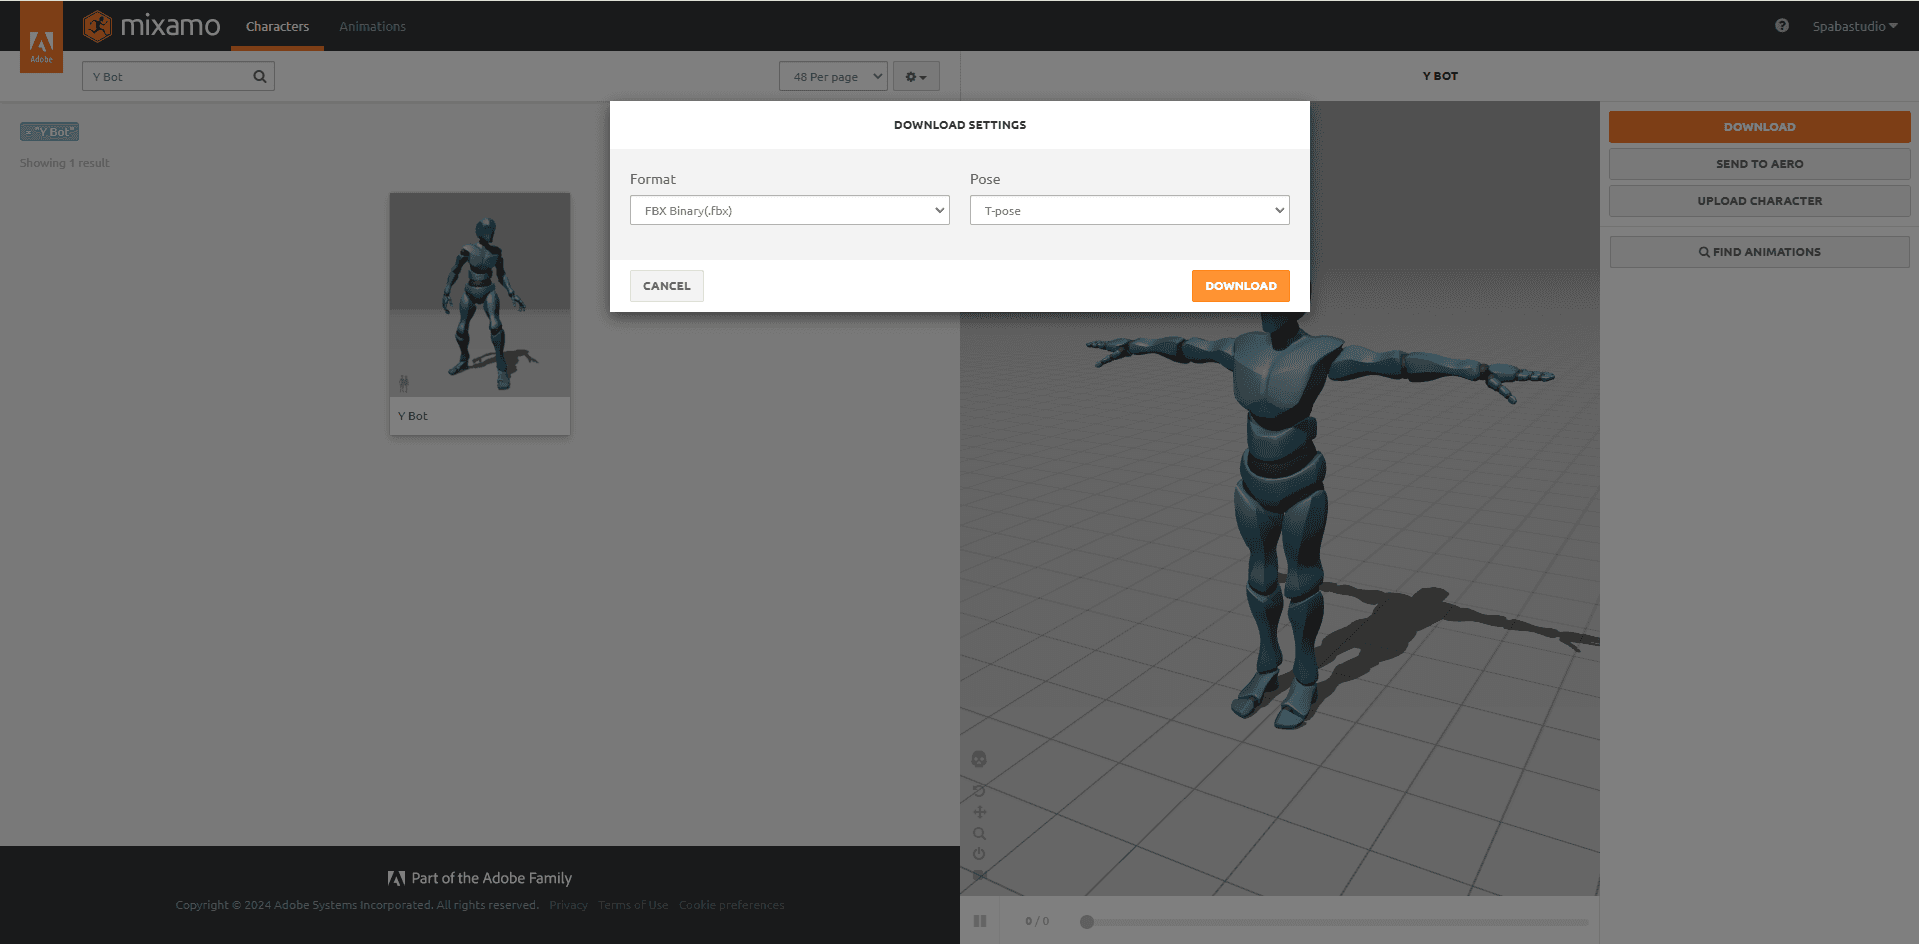
First, we will go to the Mixamo website to download the character without animations. For this example, I am choosing the Y Bot; use the search bar to find it easily. Click on the Download button to download the character. A settings window should appear: choose the FBX format and T-Pose, then click on Download.
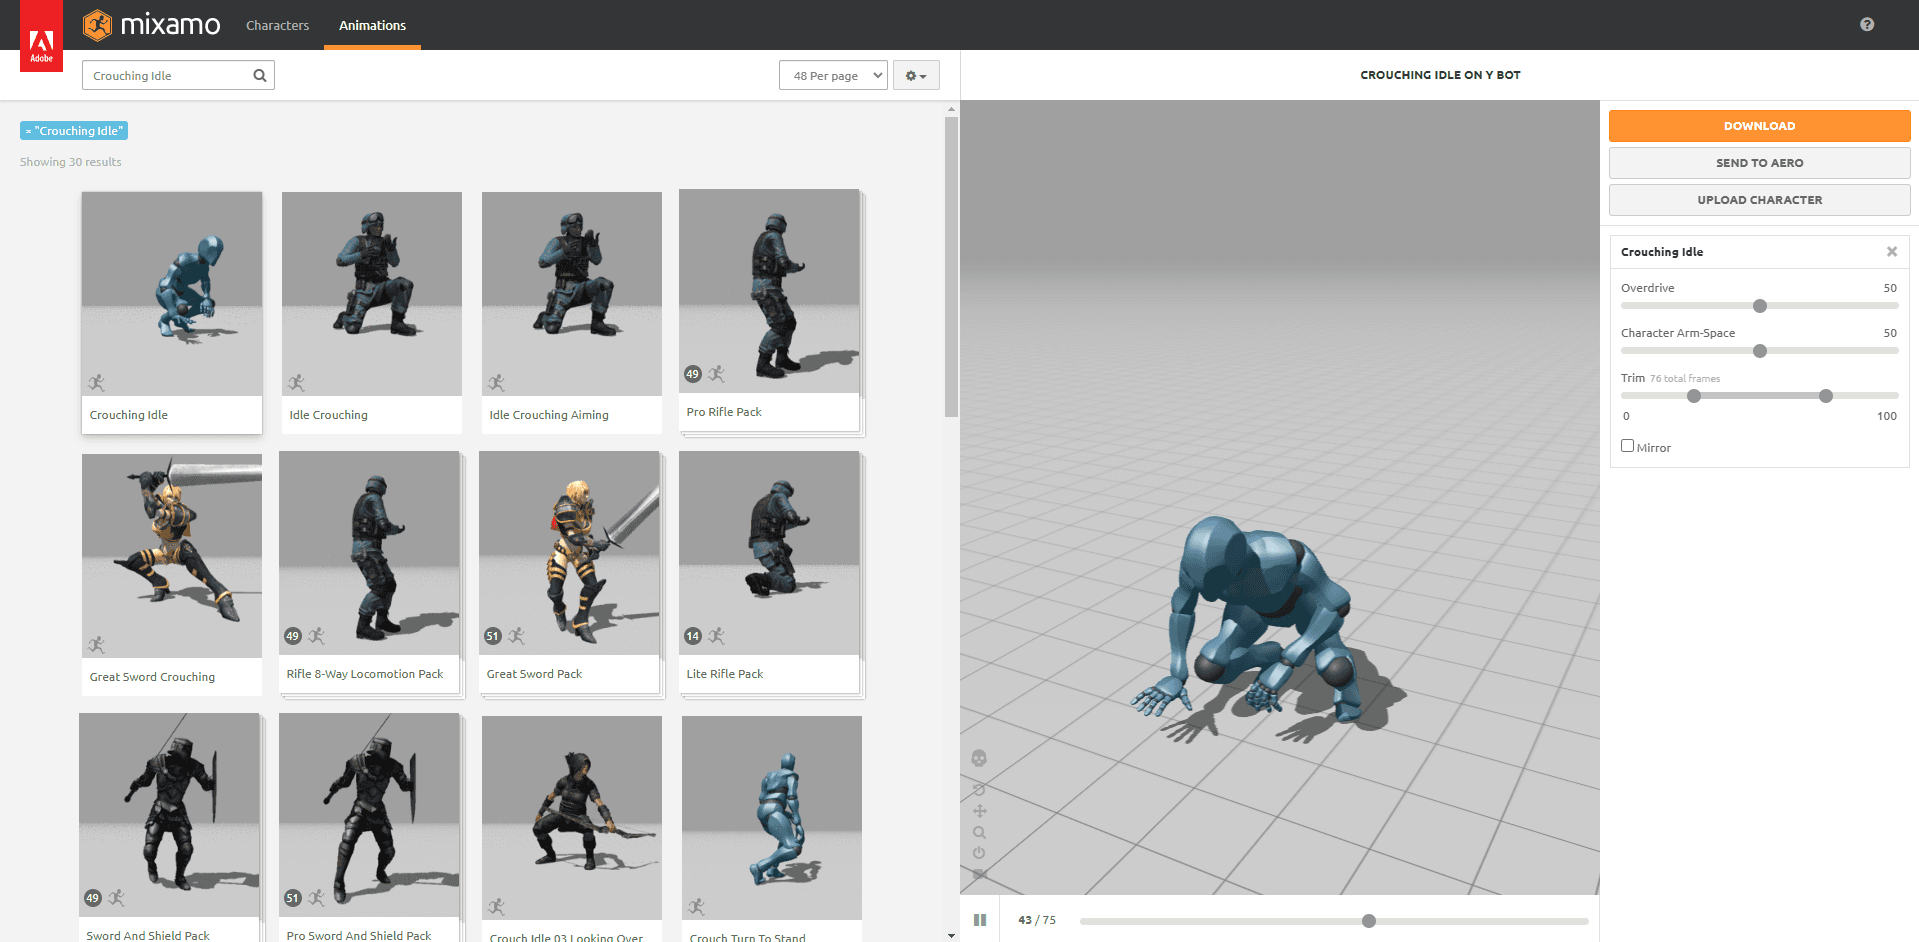
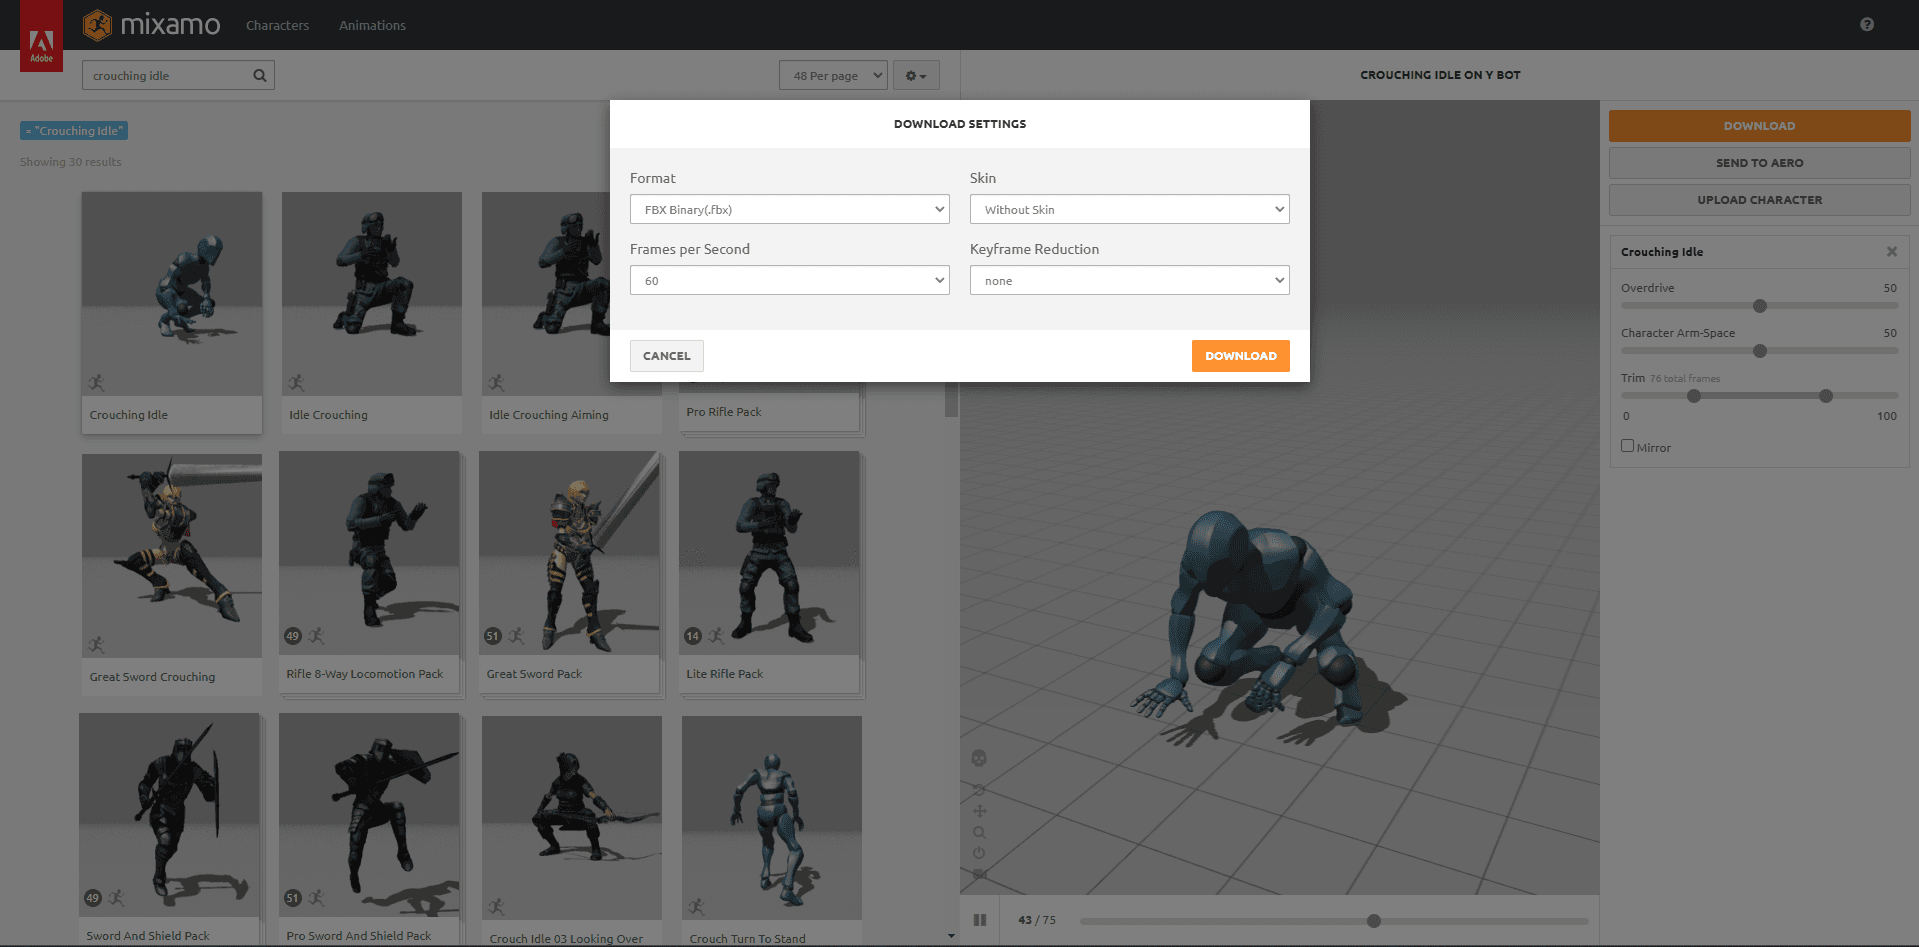
Next, select the animation you want to export. Click on the Download button to download the animation, just as we did previously for the character. A settings window should appear: choose the FBX format, without skin, and 60 frames per second, then click on Download.
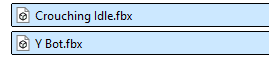
Make sure that the files have been downloaded correctly. You should have the same file names unless you chose a different character or different animations.
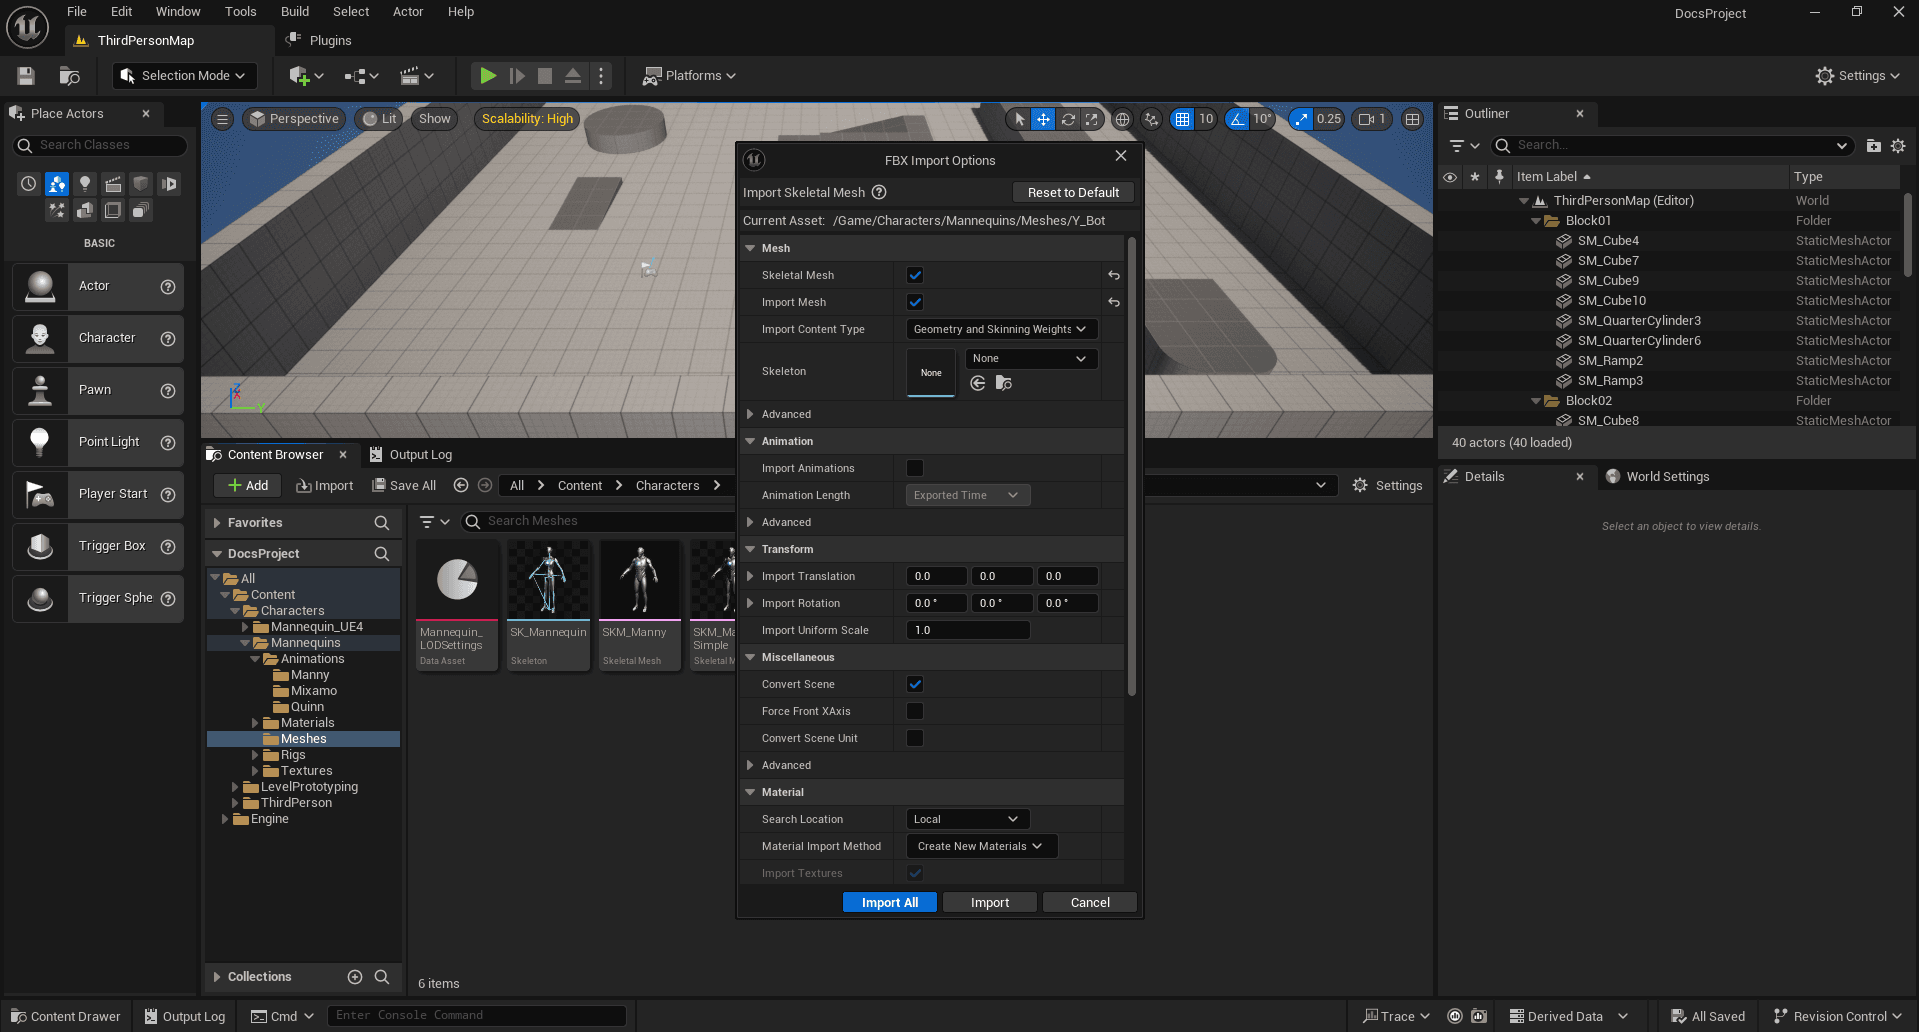
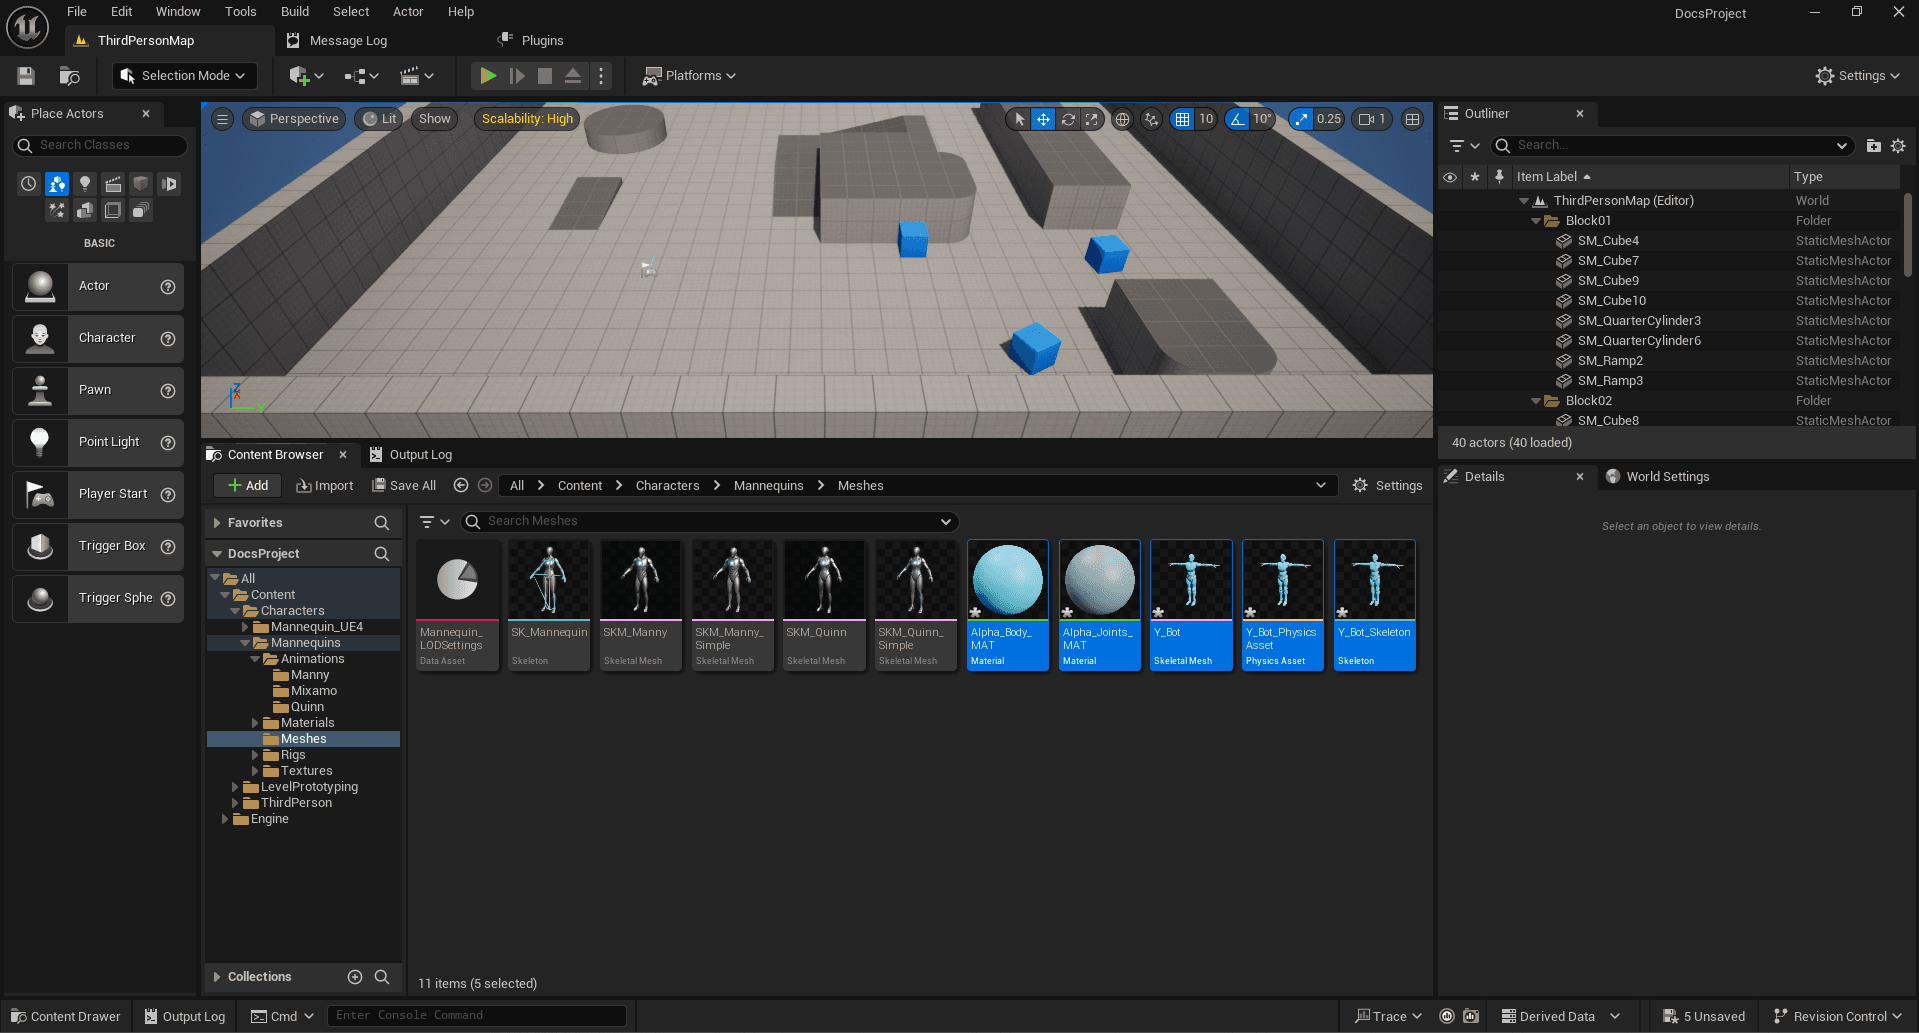
Once everything is ready, navigate to the folder where you want to import the character's skeleton. In our case, we will go to All -> Content -> Characters -> Mannequins -> Meshes to follow the template ThirdPerson structure, then drag and drop your character (Y Bot.fbx). A window will open to set the import options. Click on the Reset to Default button in the top right corner, and make sure the options match those in the image below. Then, click on Import All.
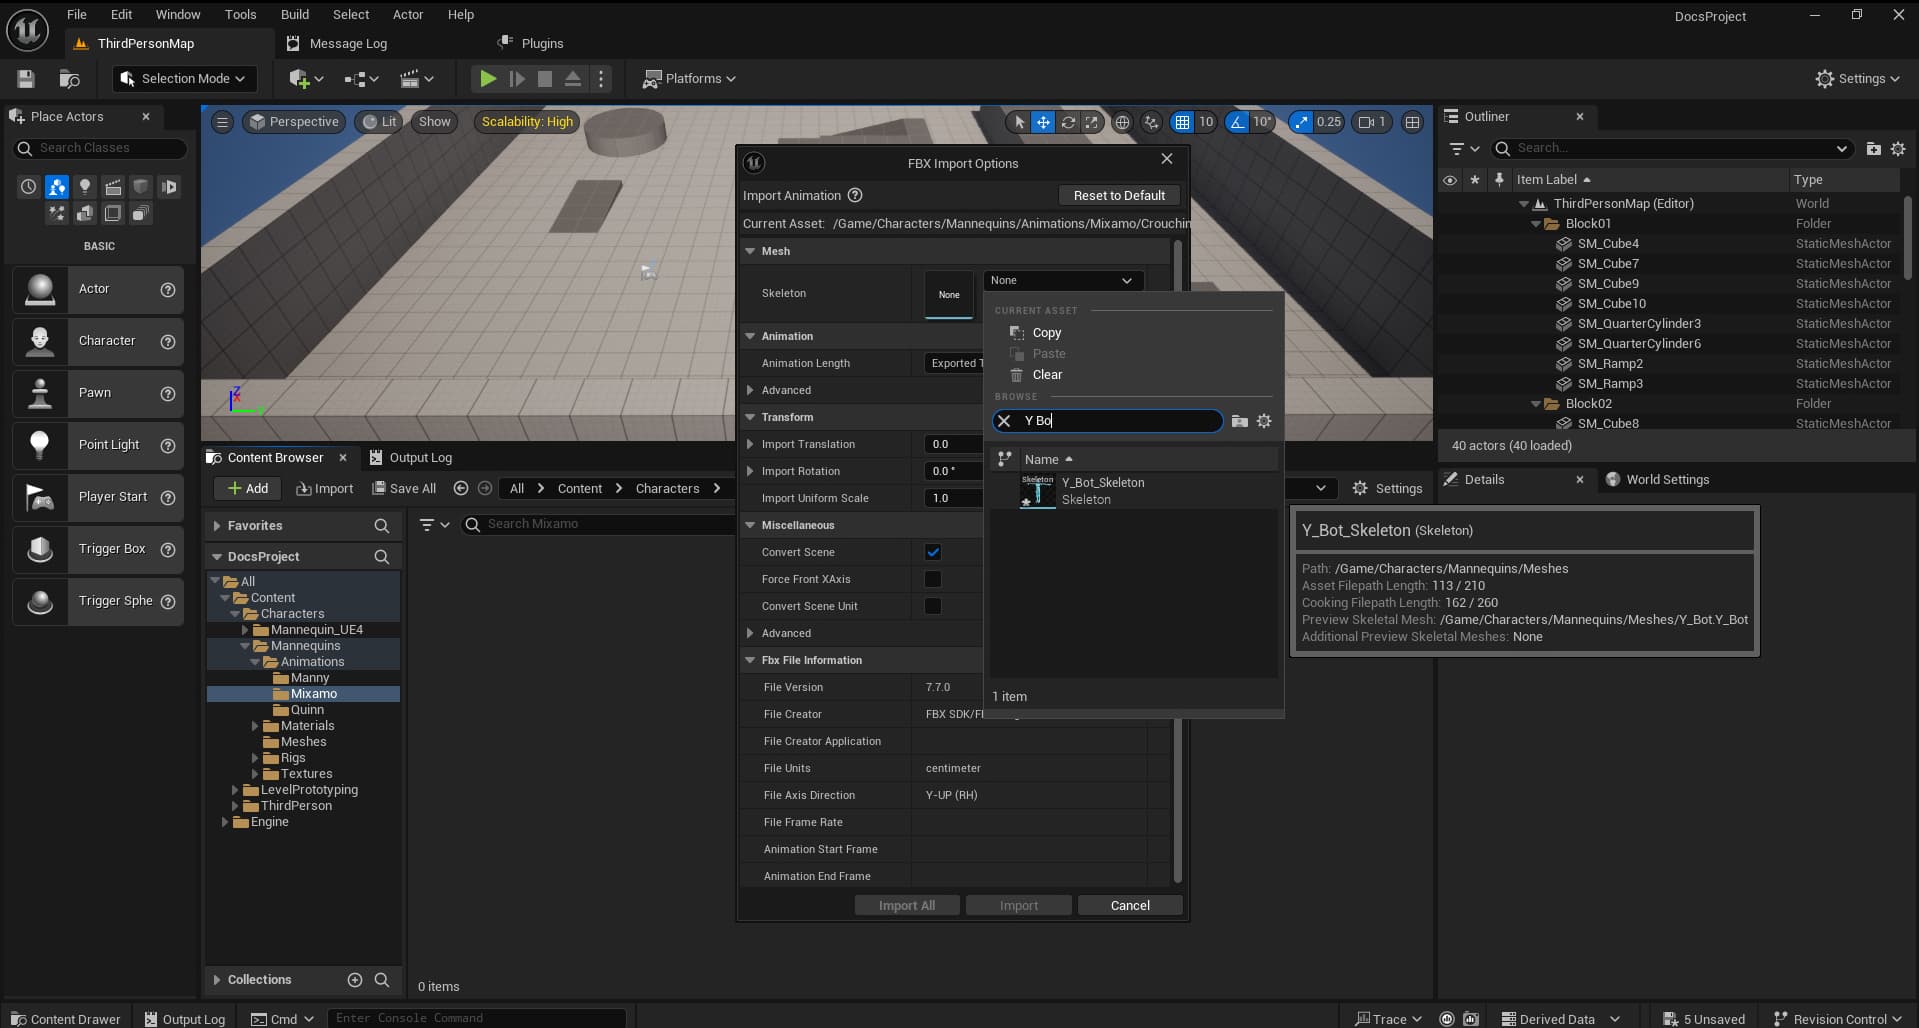
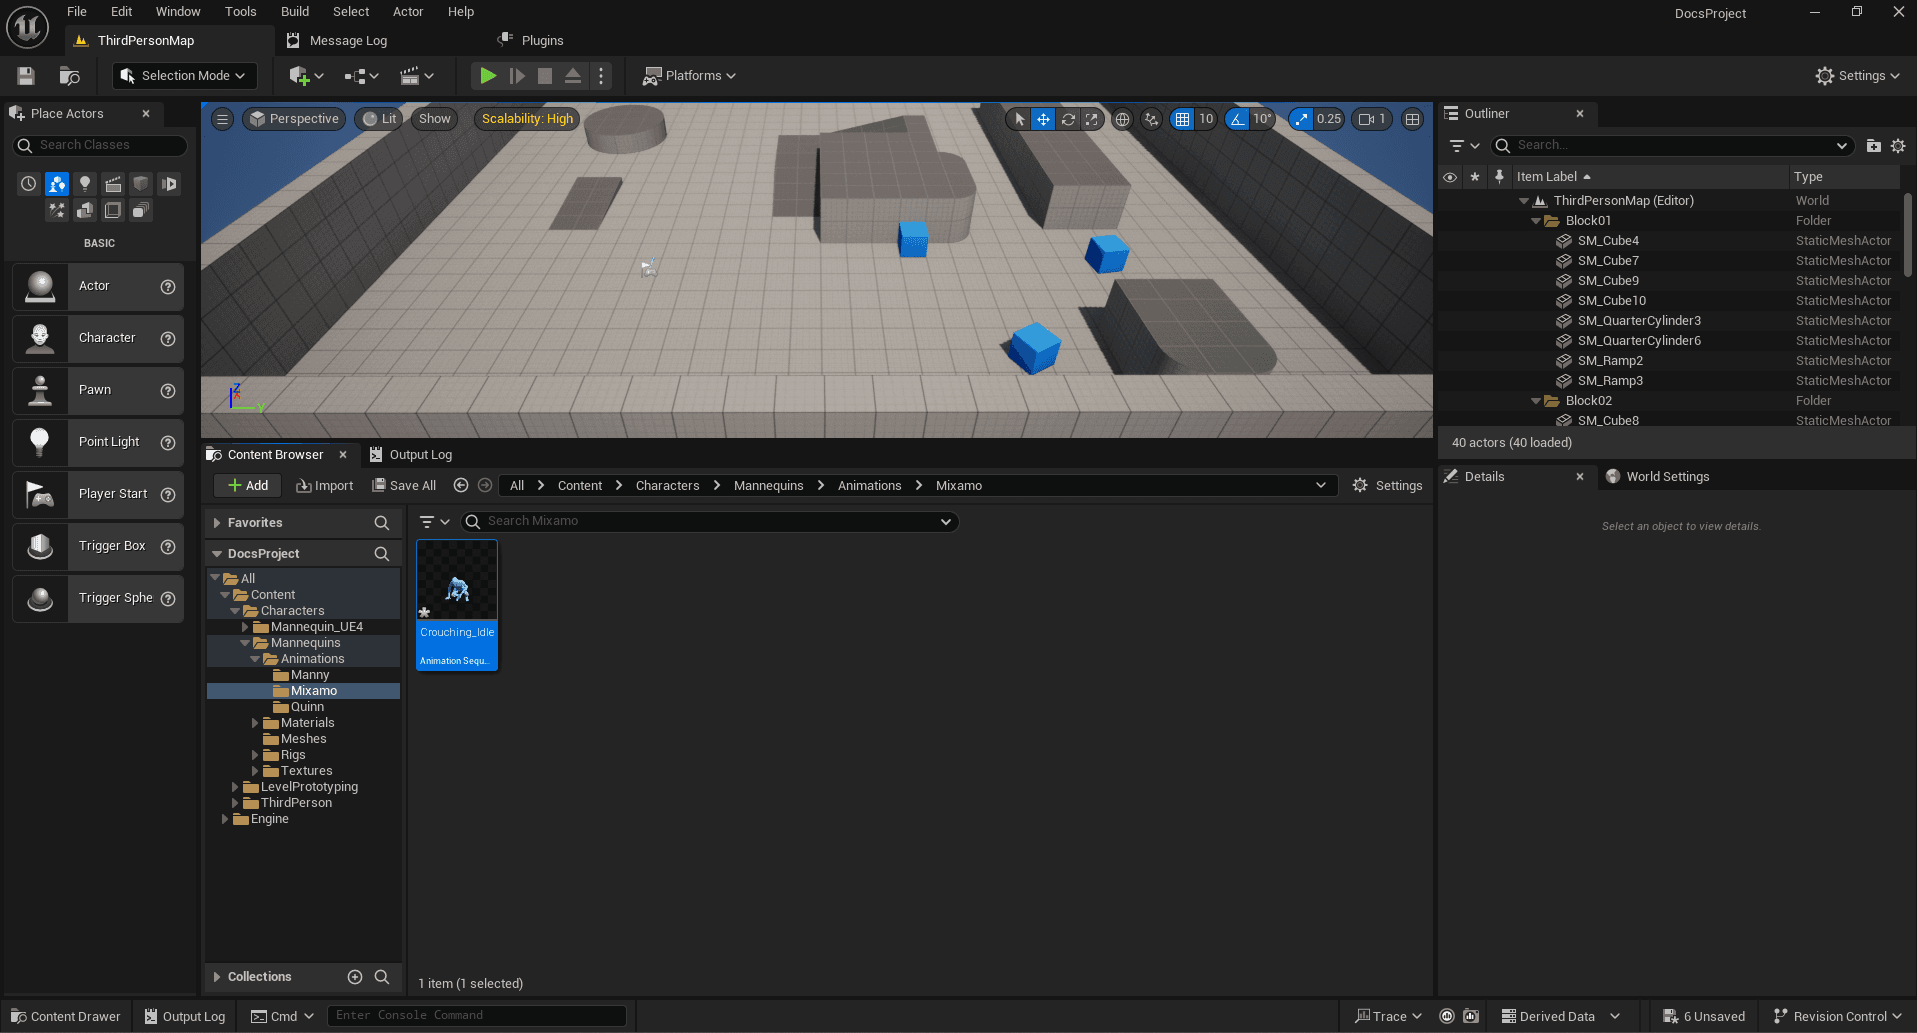
For the animations, go to the directory All -> Content -> Characters -> Mannequins -> Animations and create a new folder named Mixamo to avoid mixing the Mixamo animations with those of the mannequin. Then, drag and drop the two animations into this folder. A window will open to set the import options. Select the skeleton you imported from Mixamo (Y Bot.fbx) to attach it to the animations.
Retarget Animations to Mannequin
Everything is ready, we have our animations! However, they are currently designed for the Mixamo skeleton. No worries, we’re going to proceed with retargeting the animations to adapt them to our mannequin. This will allow us to easily reuse them!
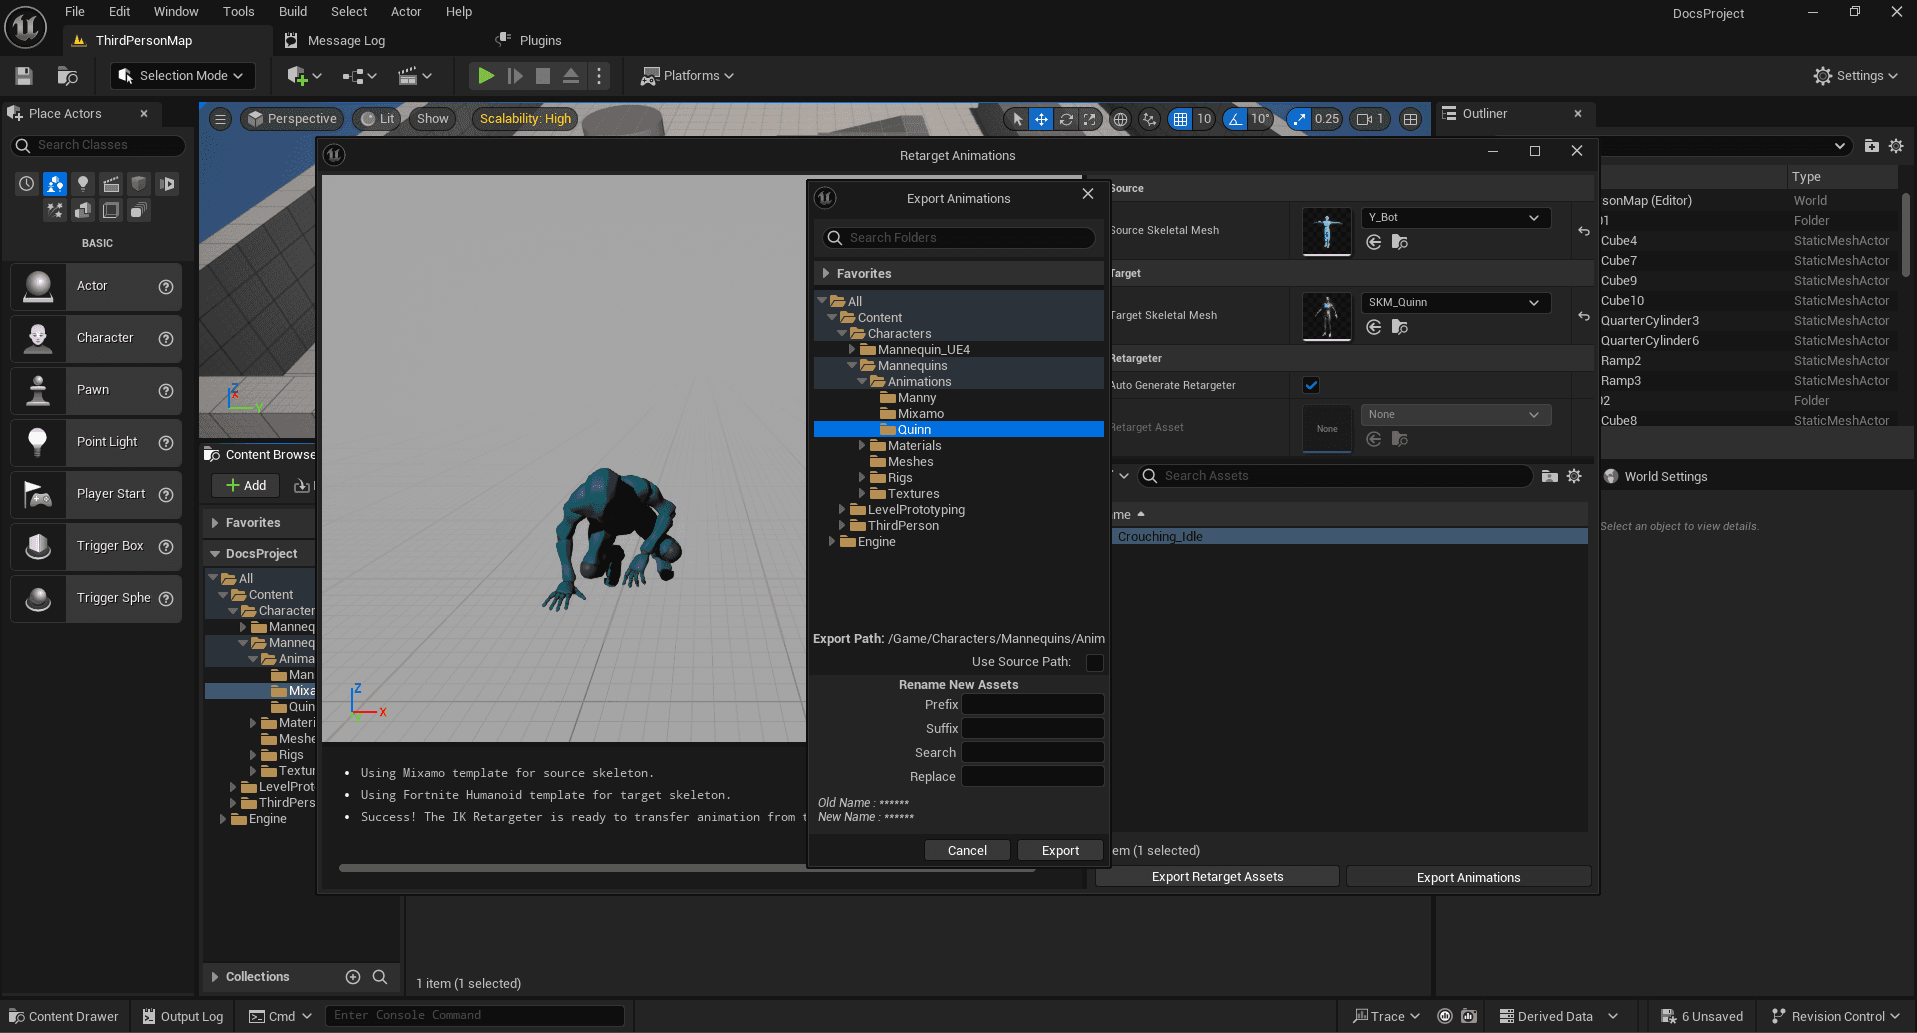
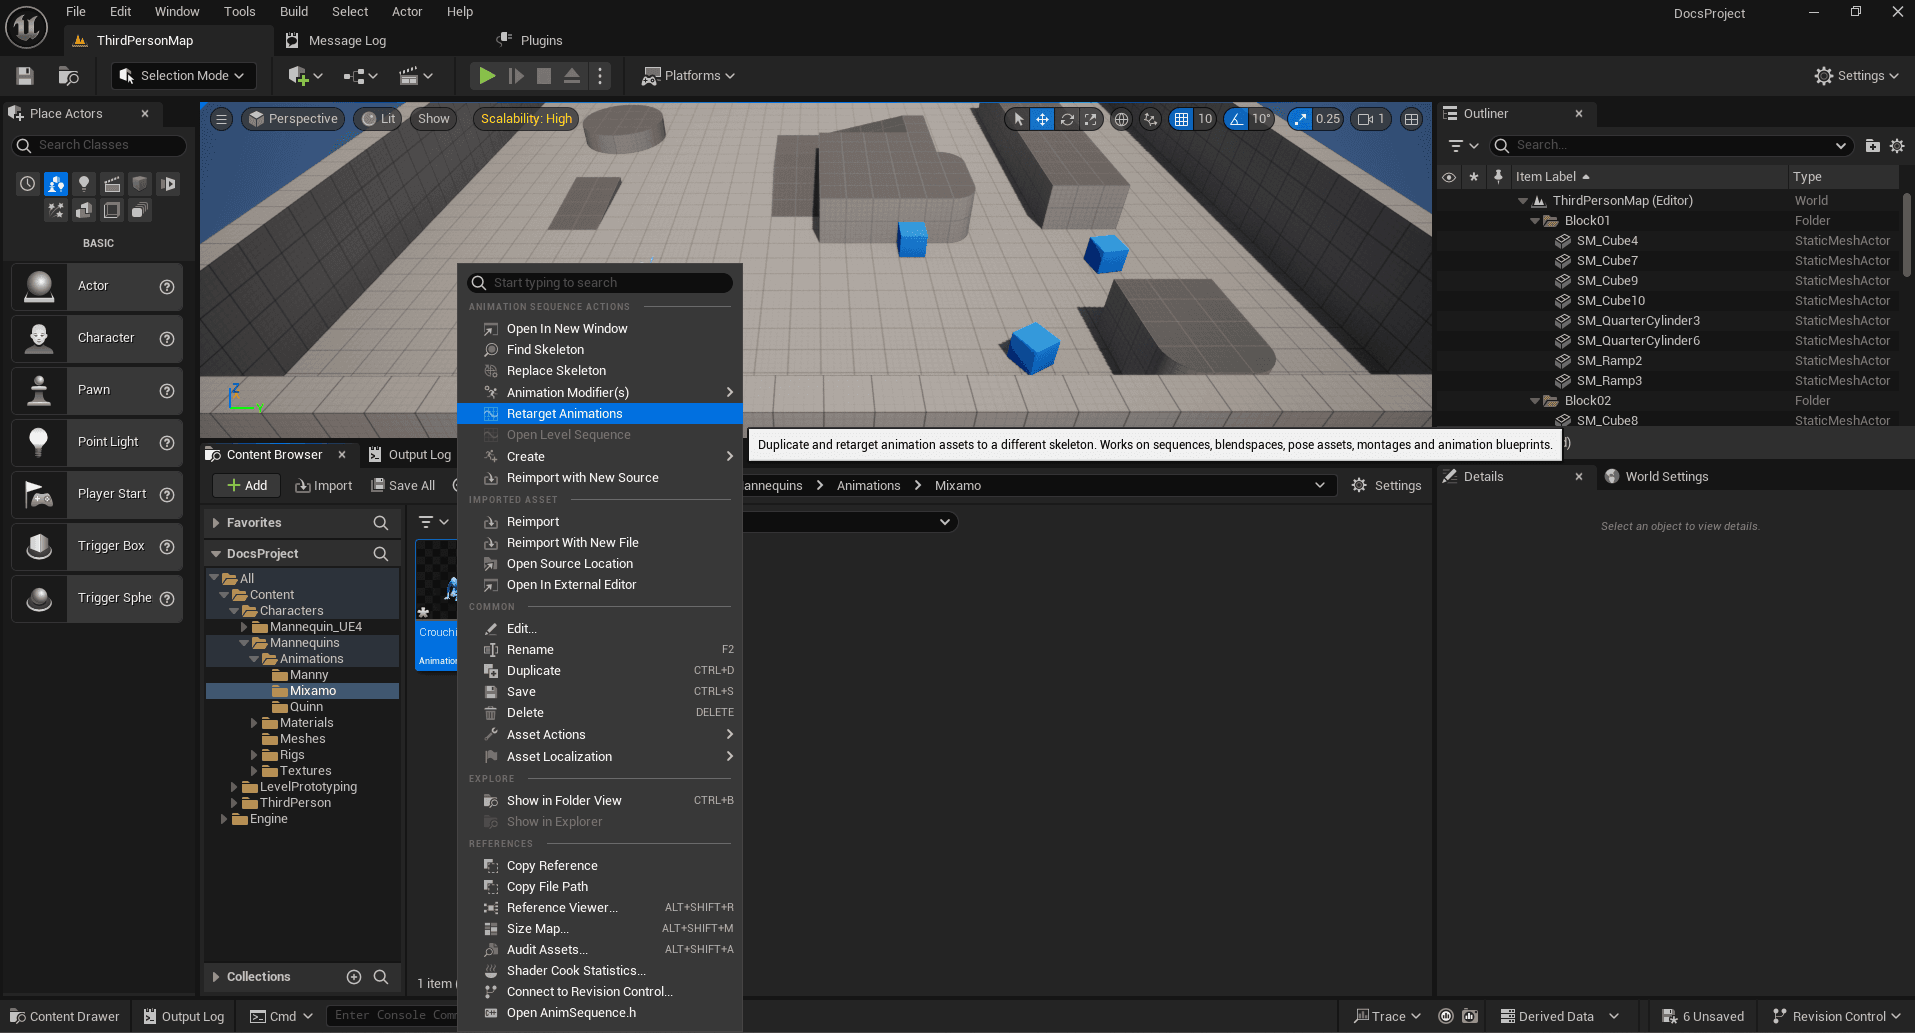
Right-click on one of the animations to open the context menu, then select the Retarget Animations option.
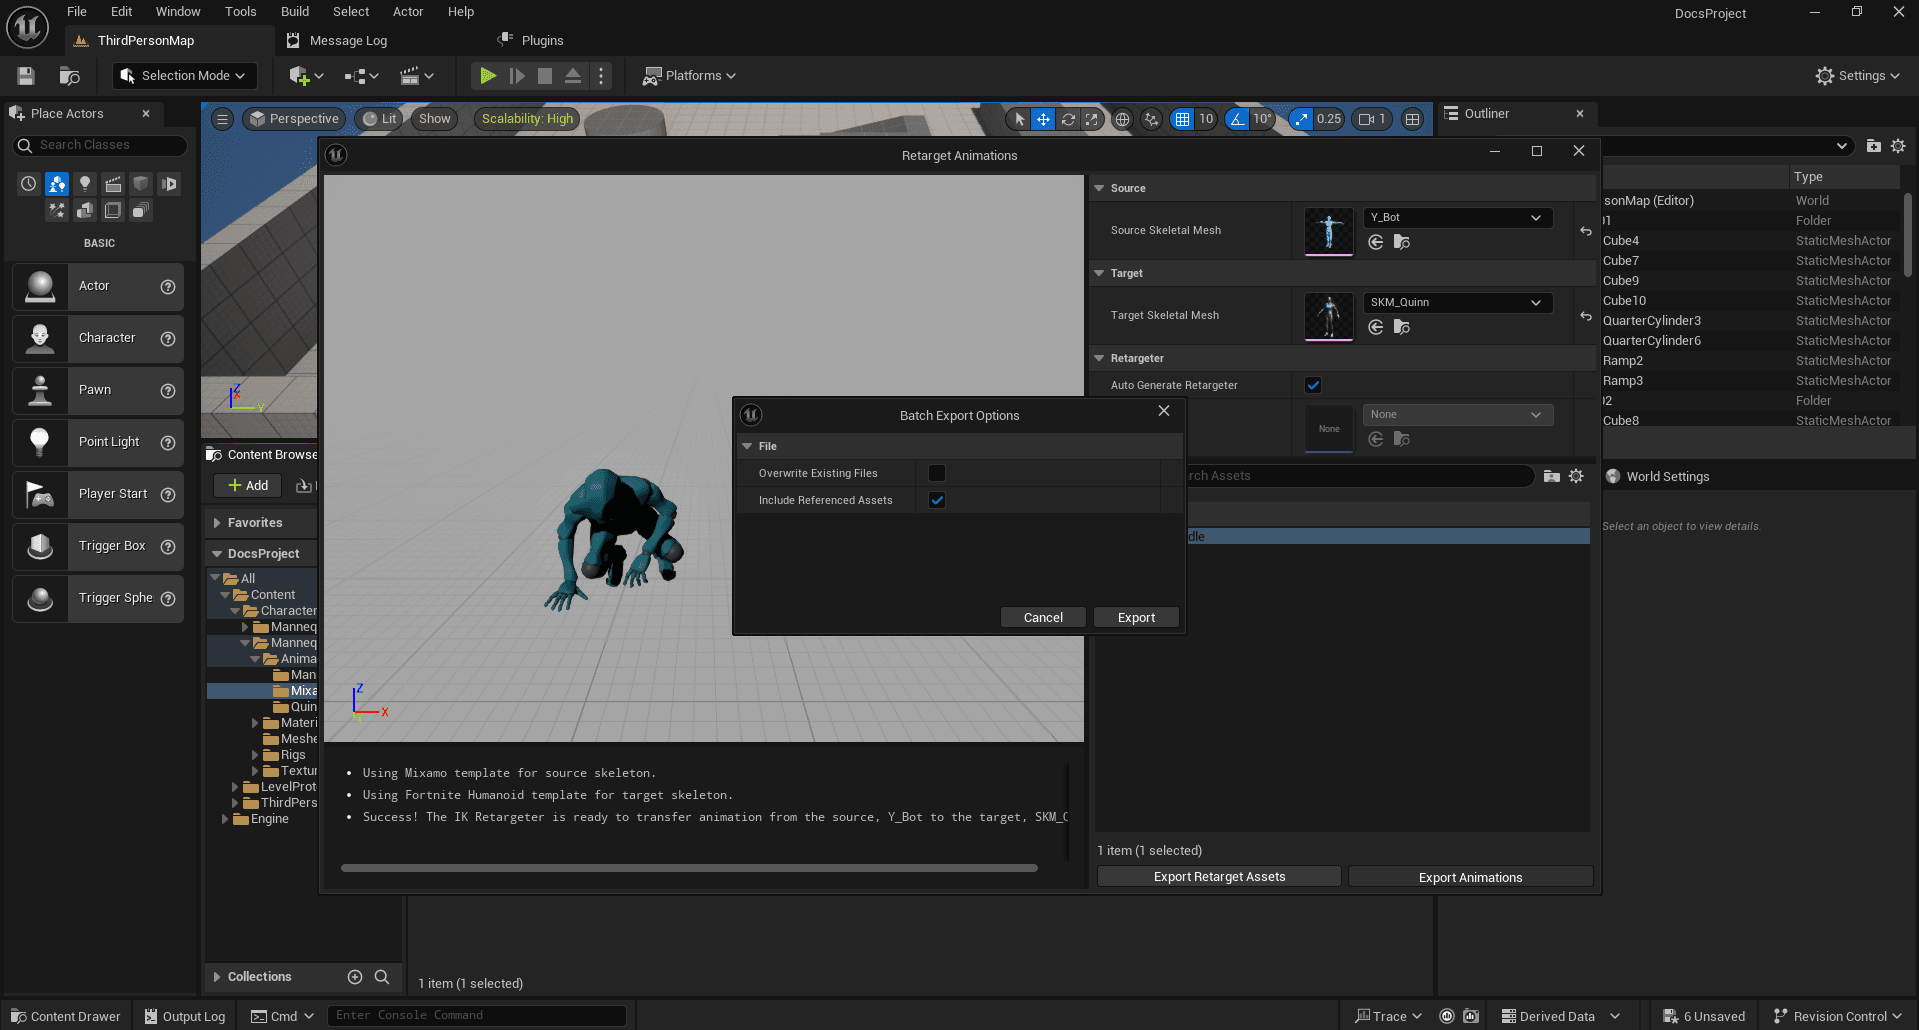
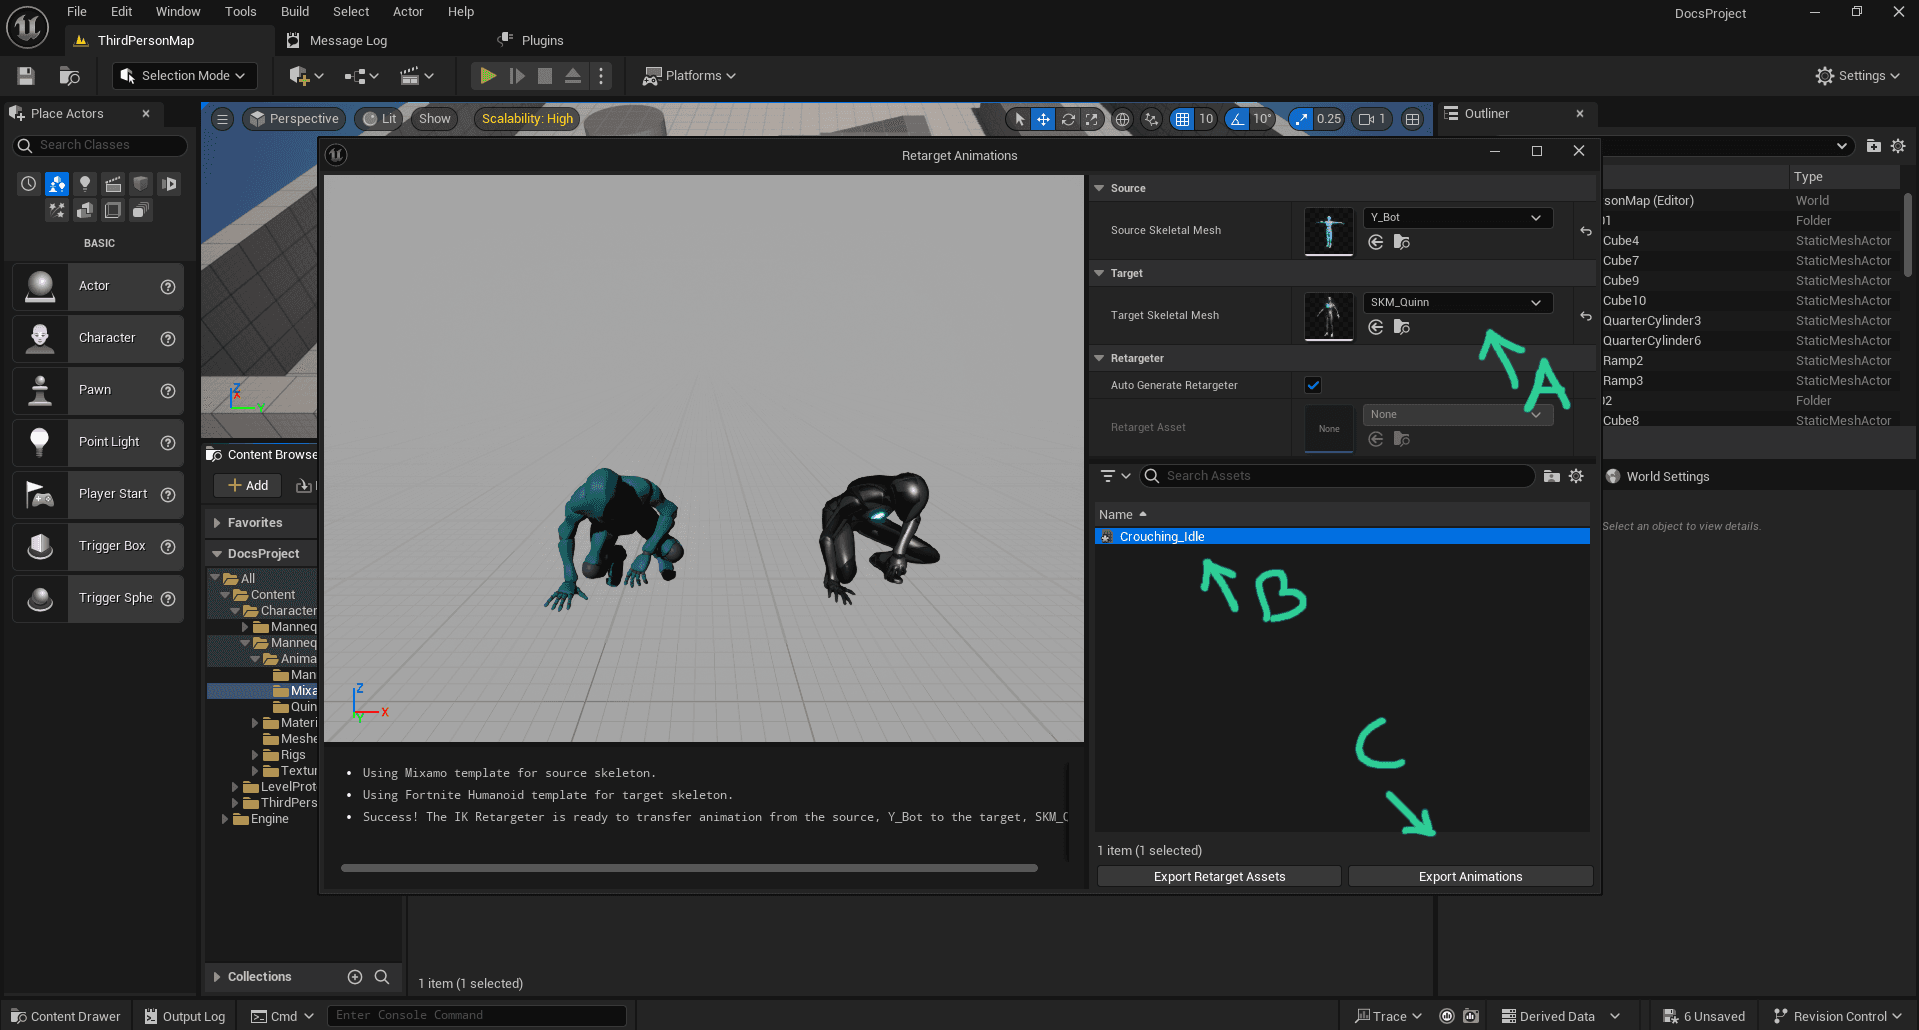
A) Select the skeleton you want to apply the animations to. B) Choose the desired animations; you can select multiple at once. C) Then click the Export Animations button to complete the process.
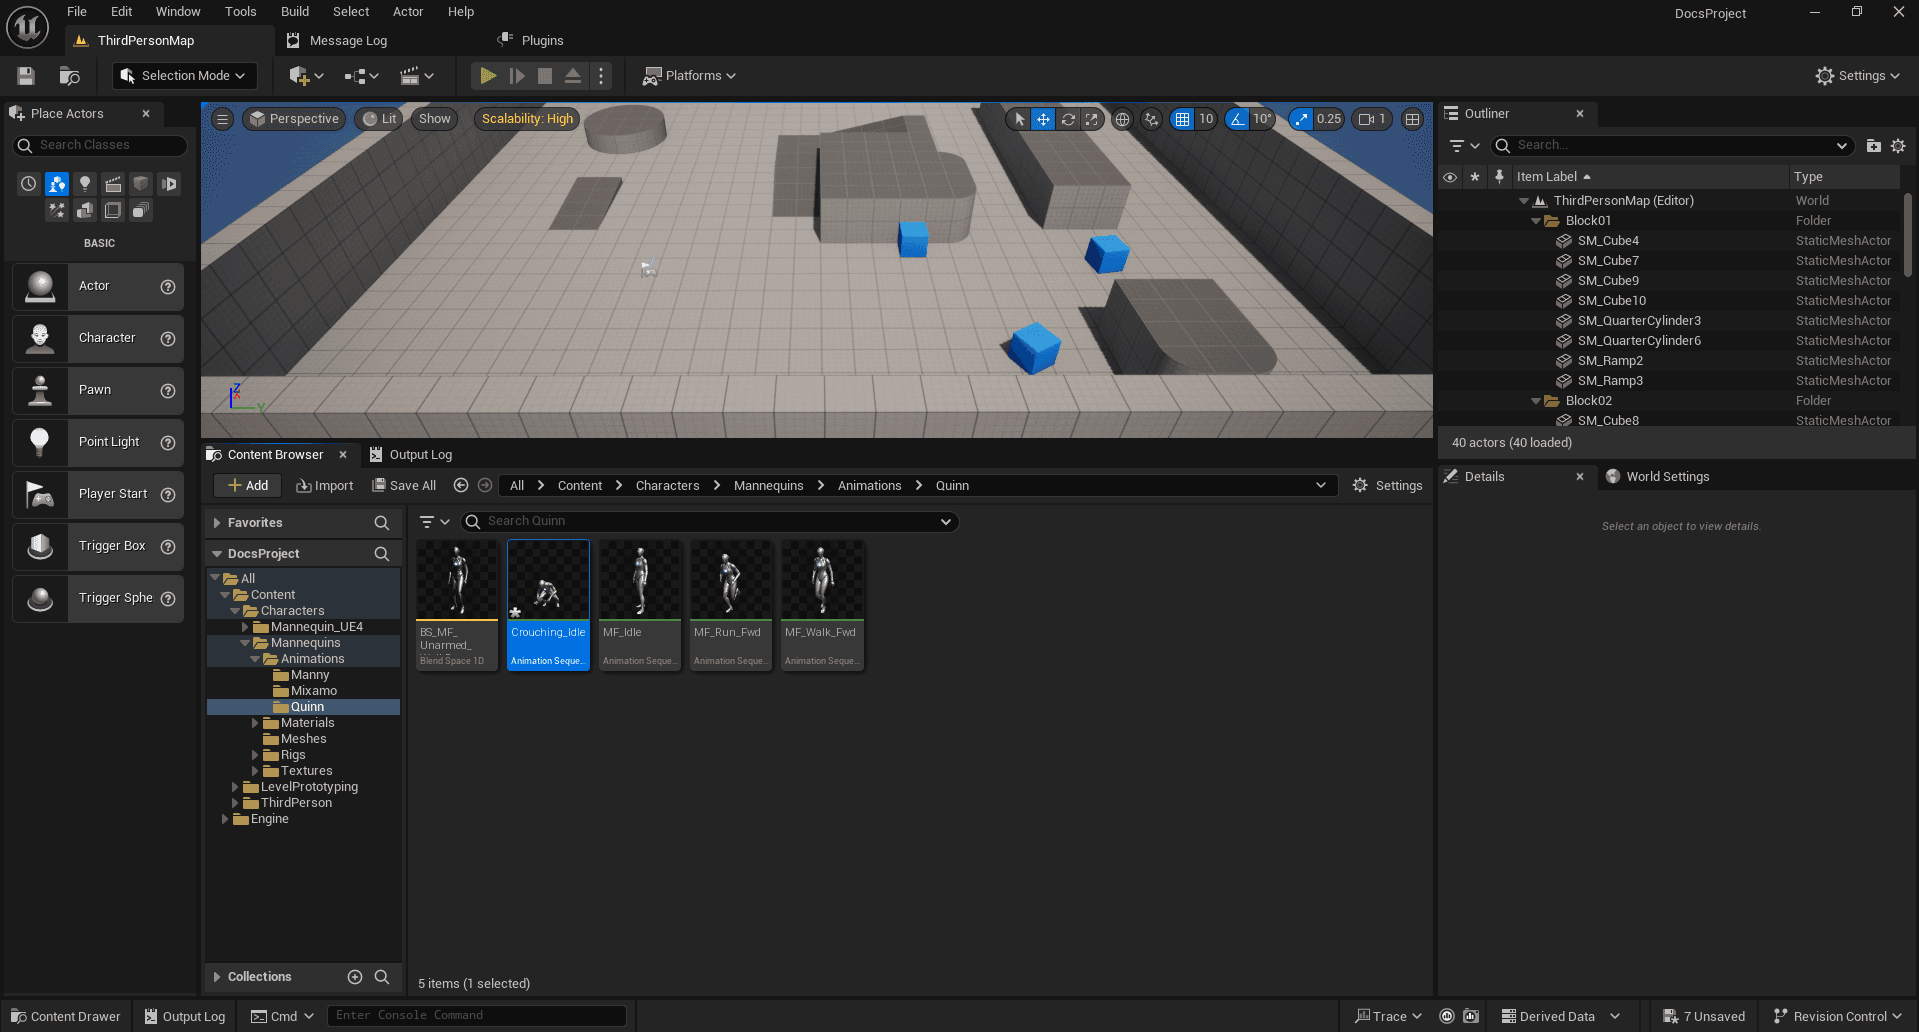
Next, select the folder where you want to import the character's animations. In our case, we will go to All -> Content -> Characters -> Mannequins -> Animations -> Quinn to follow the template ThirdPerson structure.