Installation in a Blueprint project
Discover how to integrate the plugin into a Blueprint project.
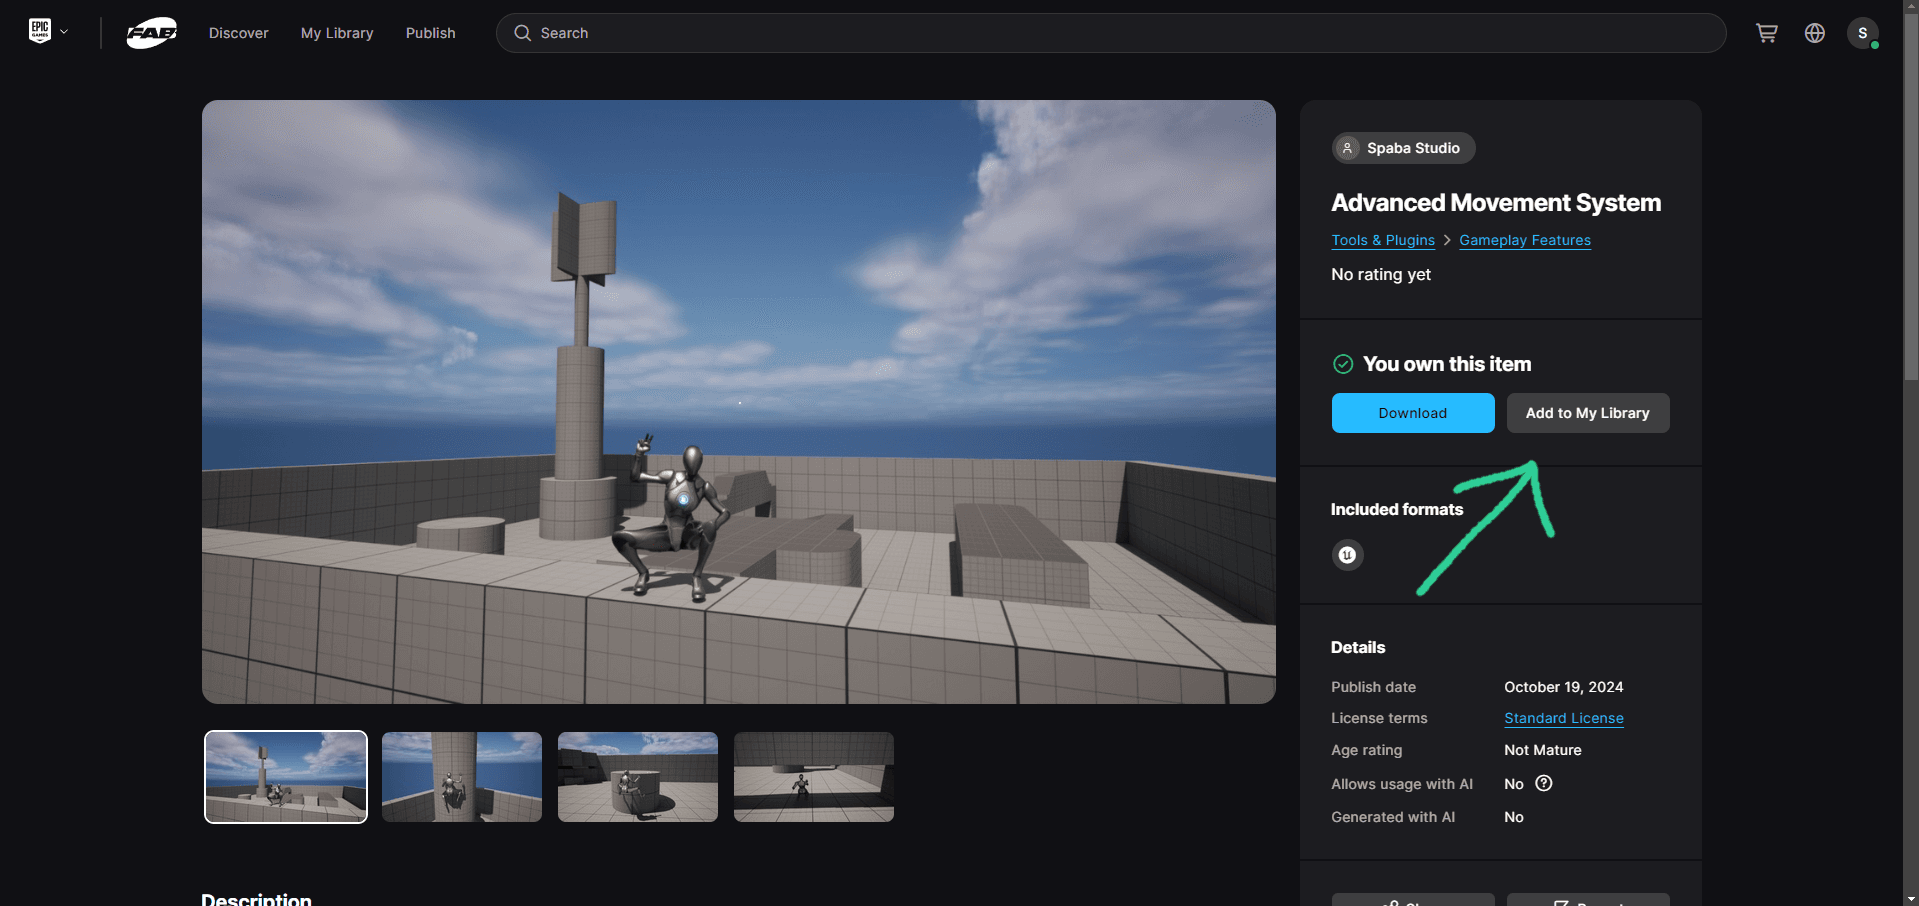
Downloading the plugin installer from the Unreal Engine Marketplace
To get started, visit the plugin page using this link and then click the Add to My Library button to add it to your library.
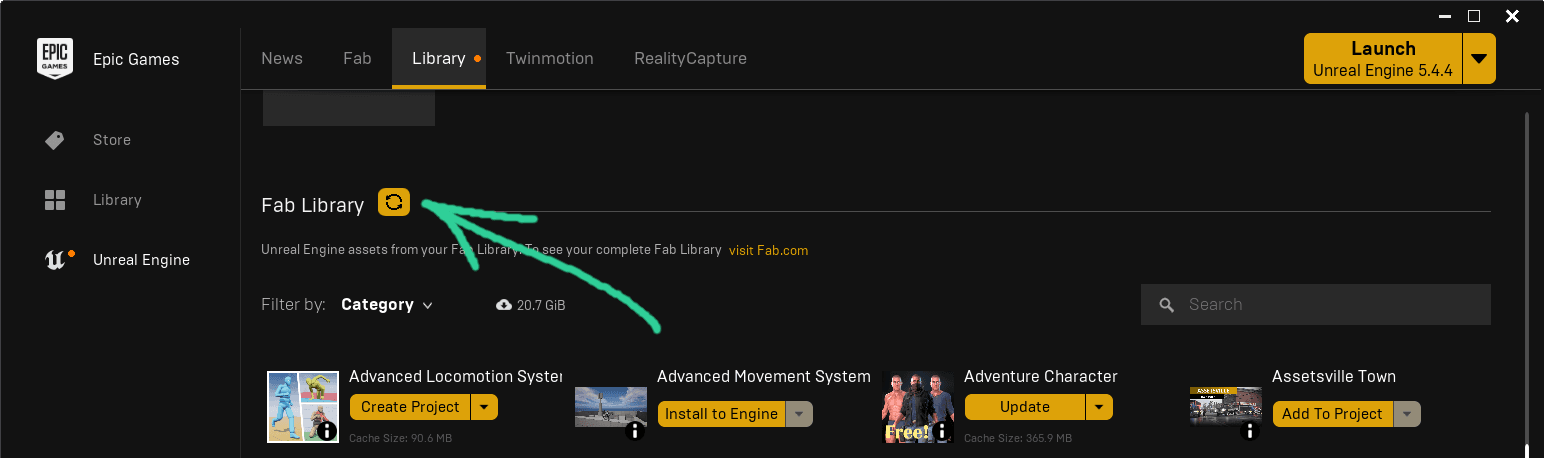
Open the Epic Games Launcher. In the Unreal Engine section, go to the Library and click the button next to the title Fab Library to refresh the library. The plugin should then appear.
Installation
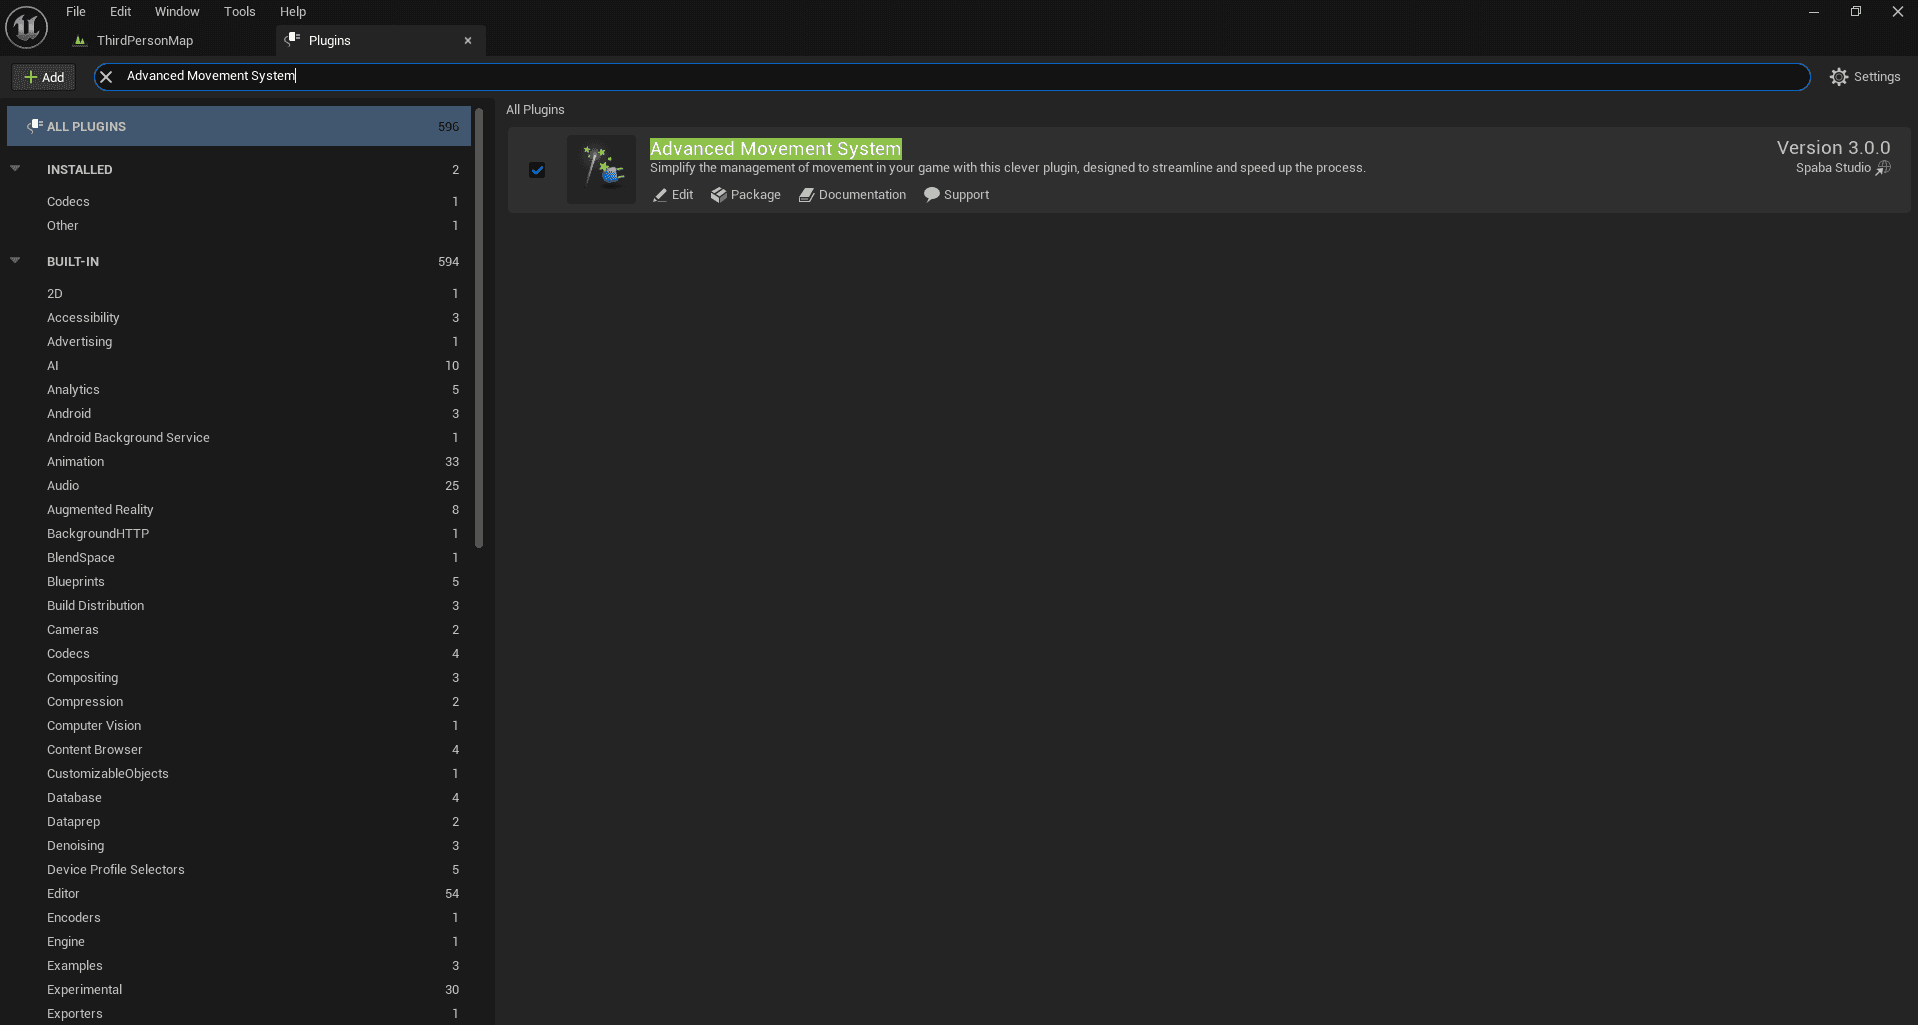
Once this is done, start the project in which you want to use the plugin. In this project, go to Edit -> Plugins to open the plugin browser.
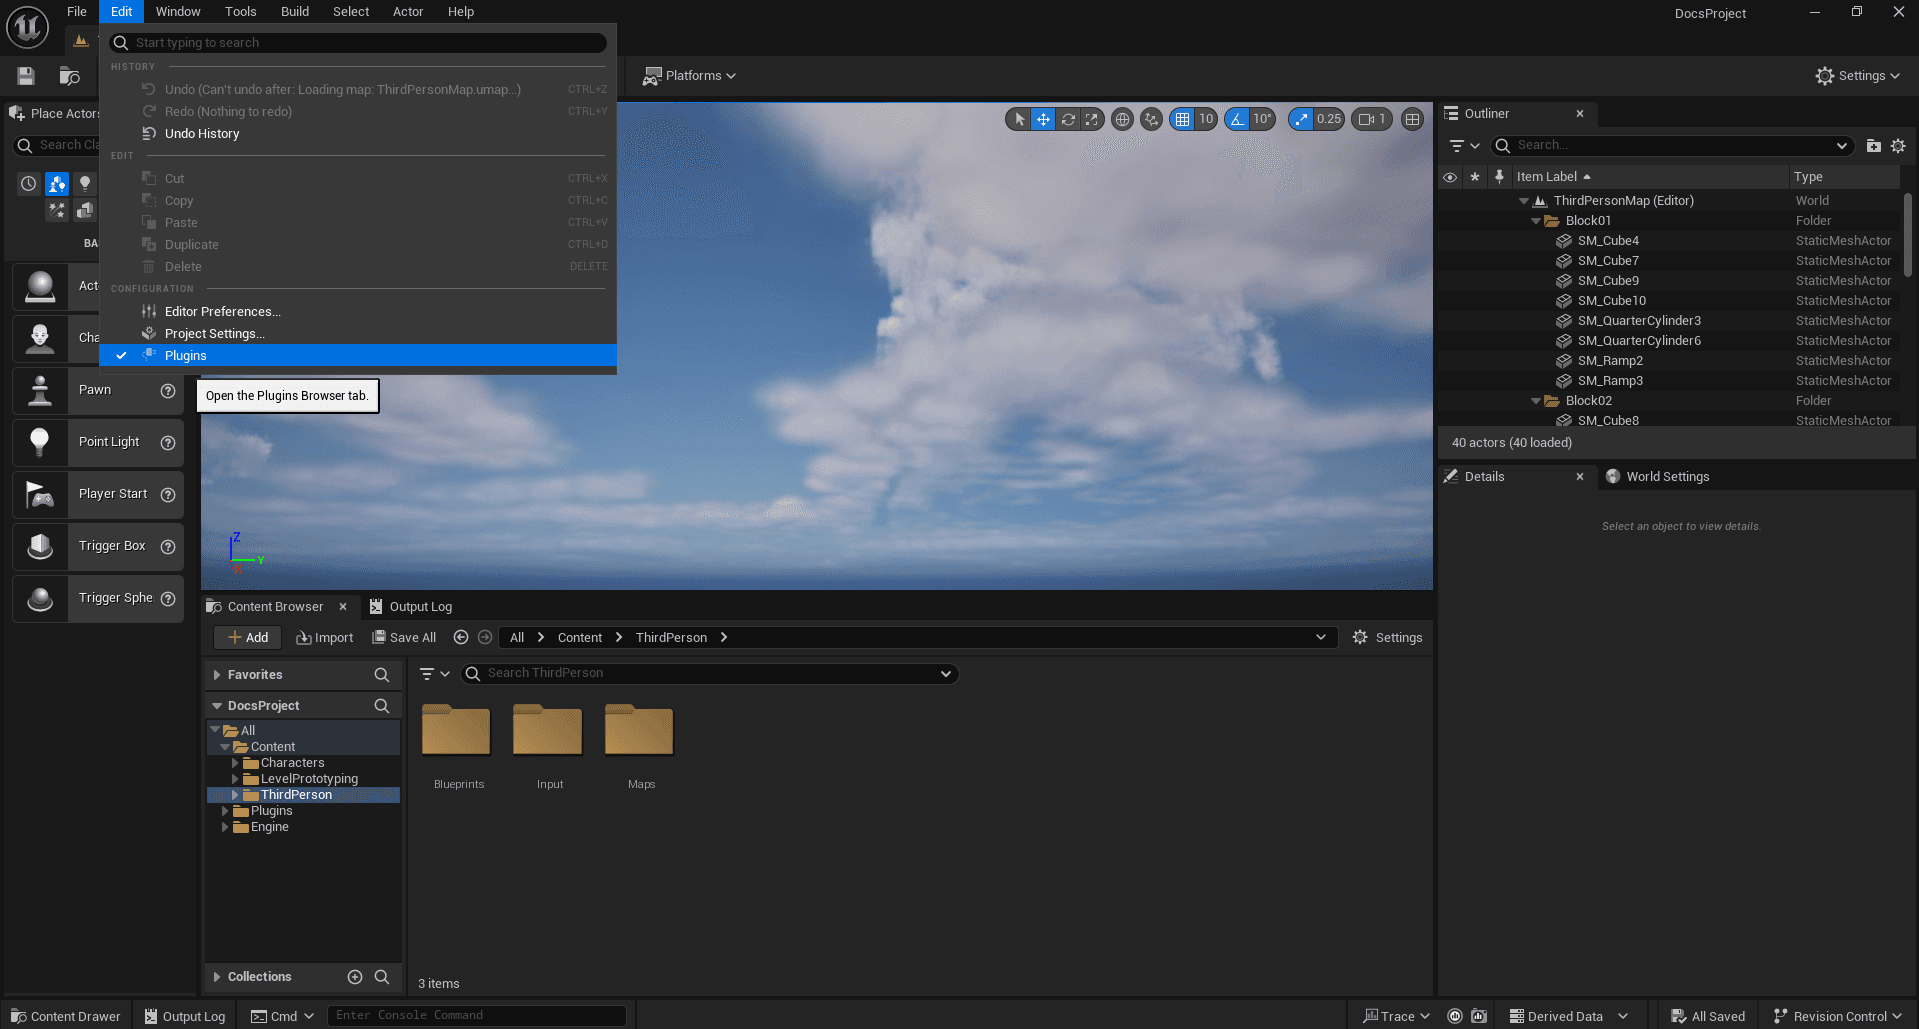
Once the plugins window is open, use the search bar to find Advanced Movement System. If the plugin does not appear, restarting the engine may resolve the issue, so feel free to try again. Check the box to the left of the plugin icon, then press the Restart Now button in the bottom right corner.
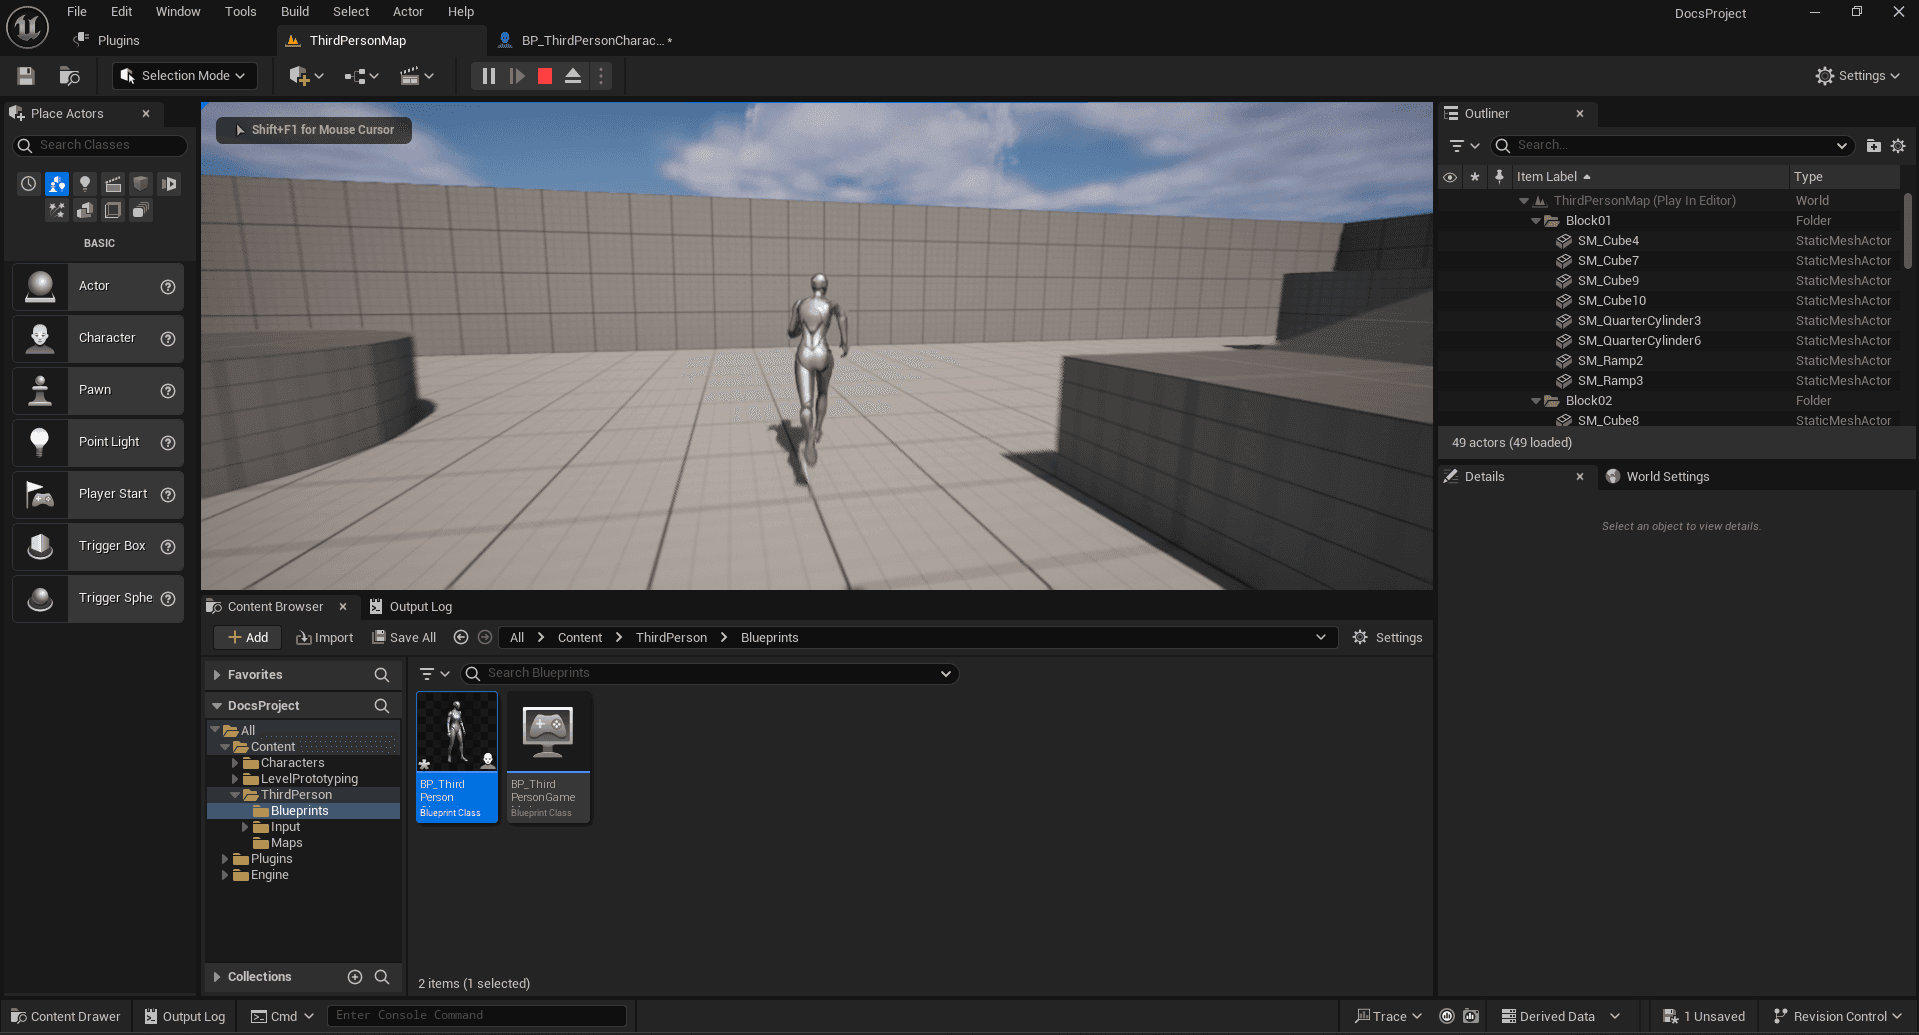
Set up the character
The plugin uses a custom character (AMS_Character) that provides additional features designed to work seamlessly with the custom CharacterMovementComponent (AMS_CharacterMovementComponent).
We will explore configuring a character from an existing one. If you prefer to create a character from scratch, follow the same process as with a Character, using AMS_Character instead.
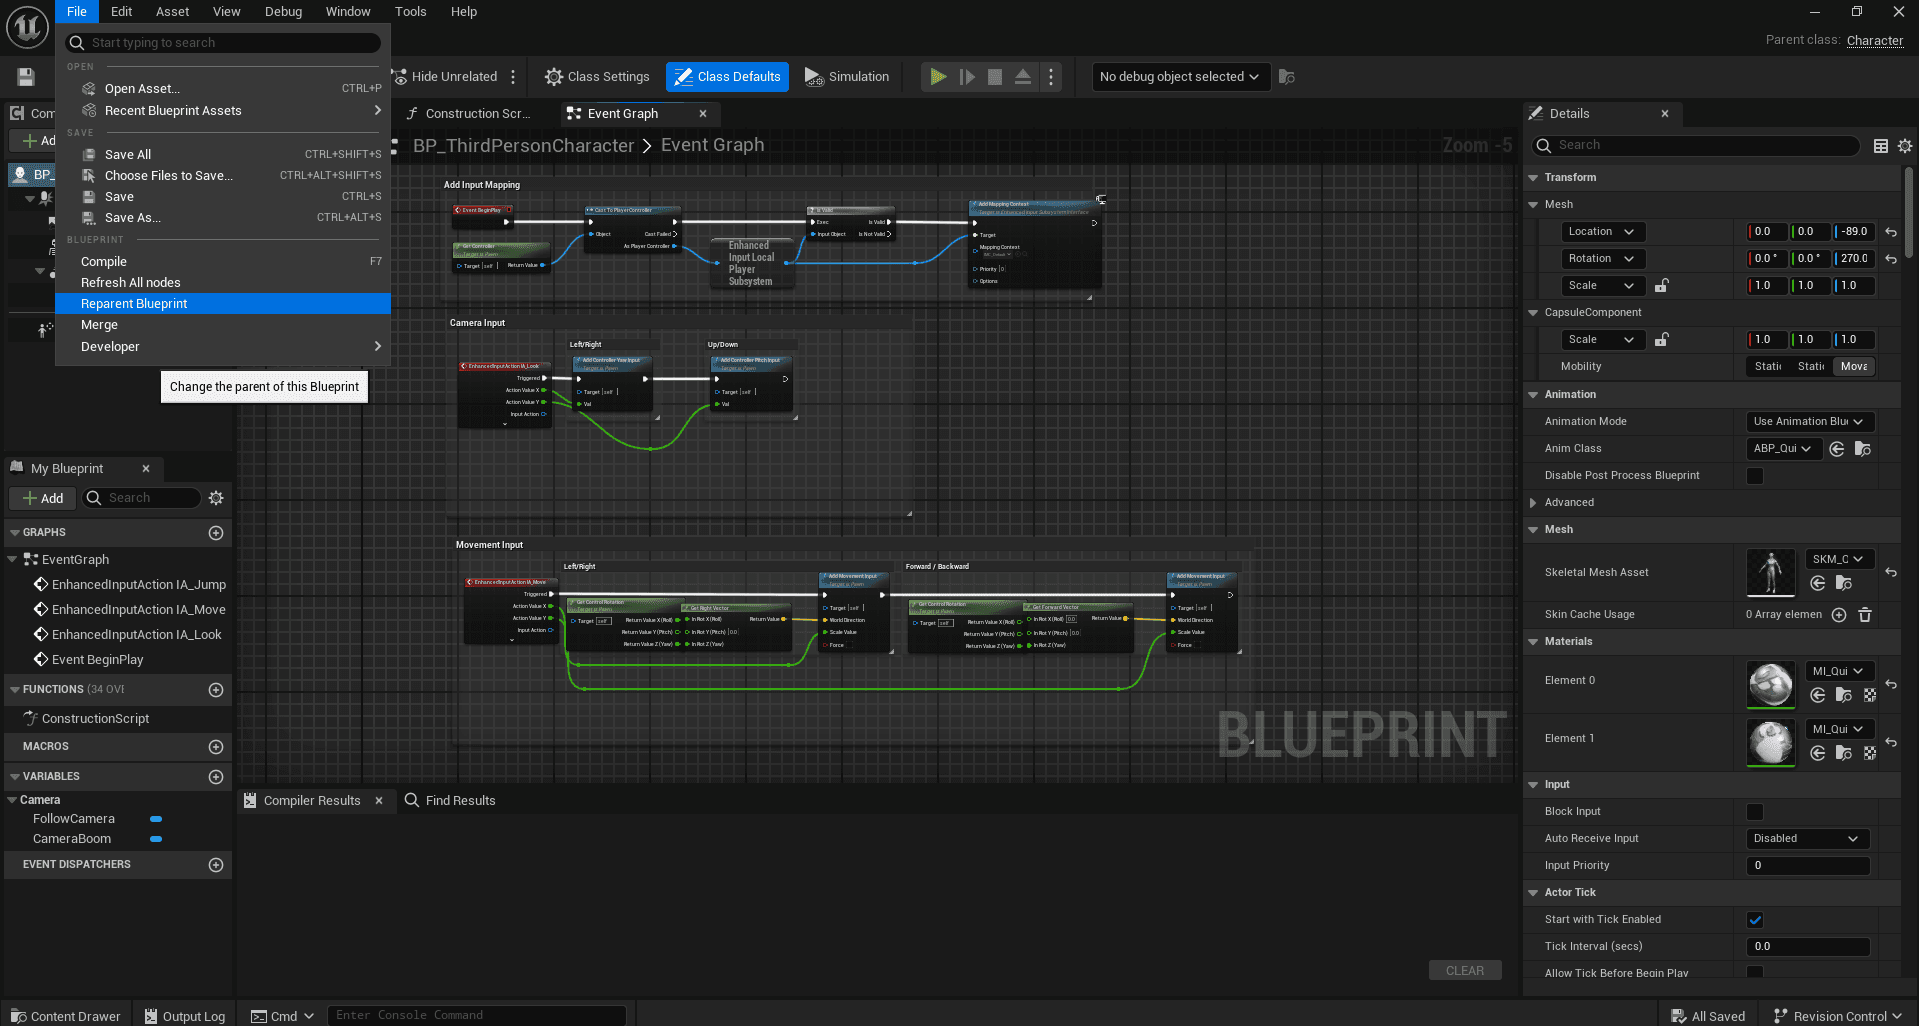
Go to your character's class, navigate to File -> Reparent Blueprint, and use the search bar that appears to look for AMS_Character. Once you find it, simply click on it to apply.
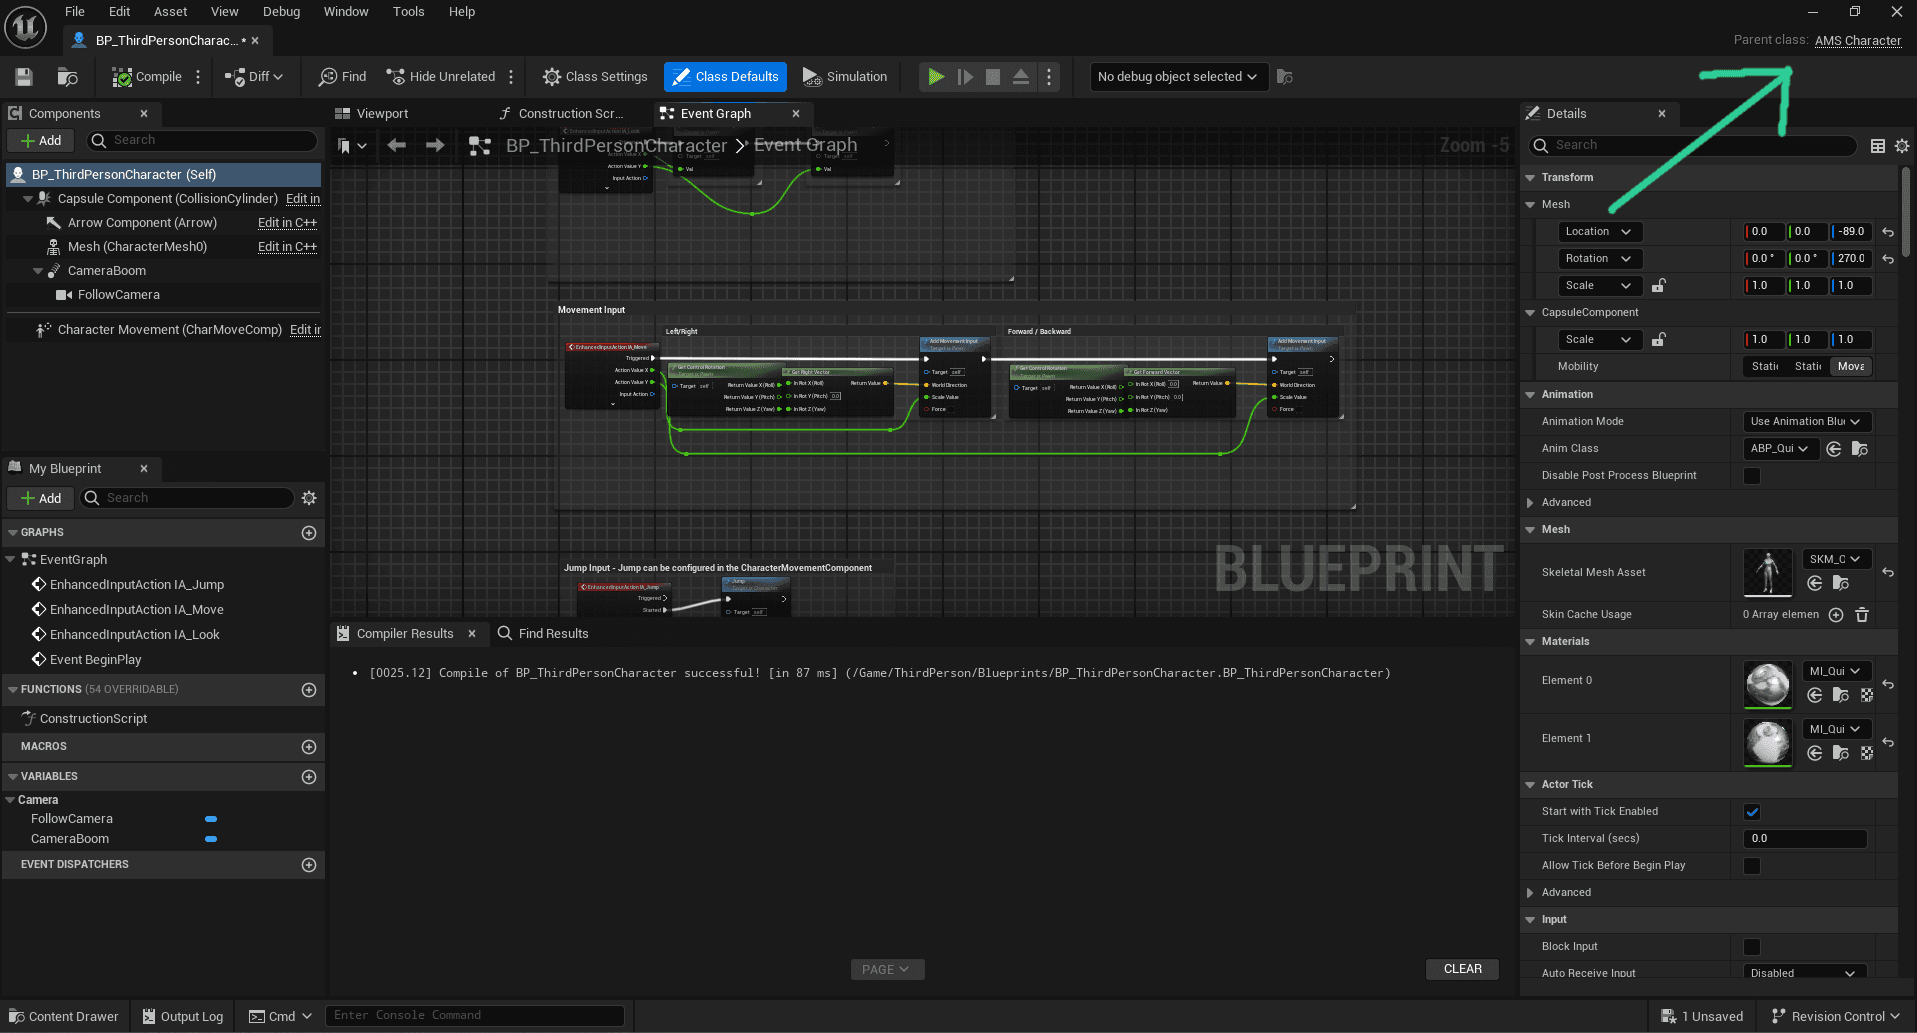
Make sure that the parent class of your character is correctly set to AMS_Character in the top right corner.
Set up the character movement
In addition to the custom character, the plugin also incorporates a custom CharacterMovementComponent (AMS_CharacterMovementComponent) to ensure perfect compatibility with the integrated movement mode system.
This design also allows for full utilization of the networking framework established by these classes, thereby facilitating the integration of multiplayer and movement prediction.
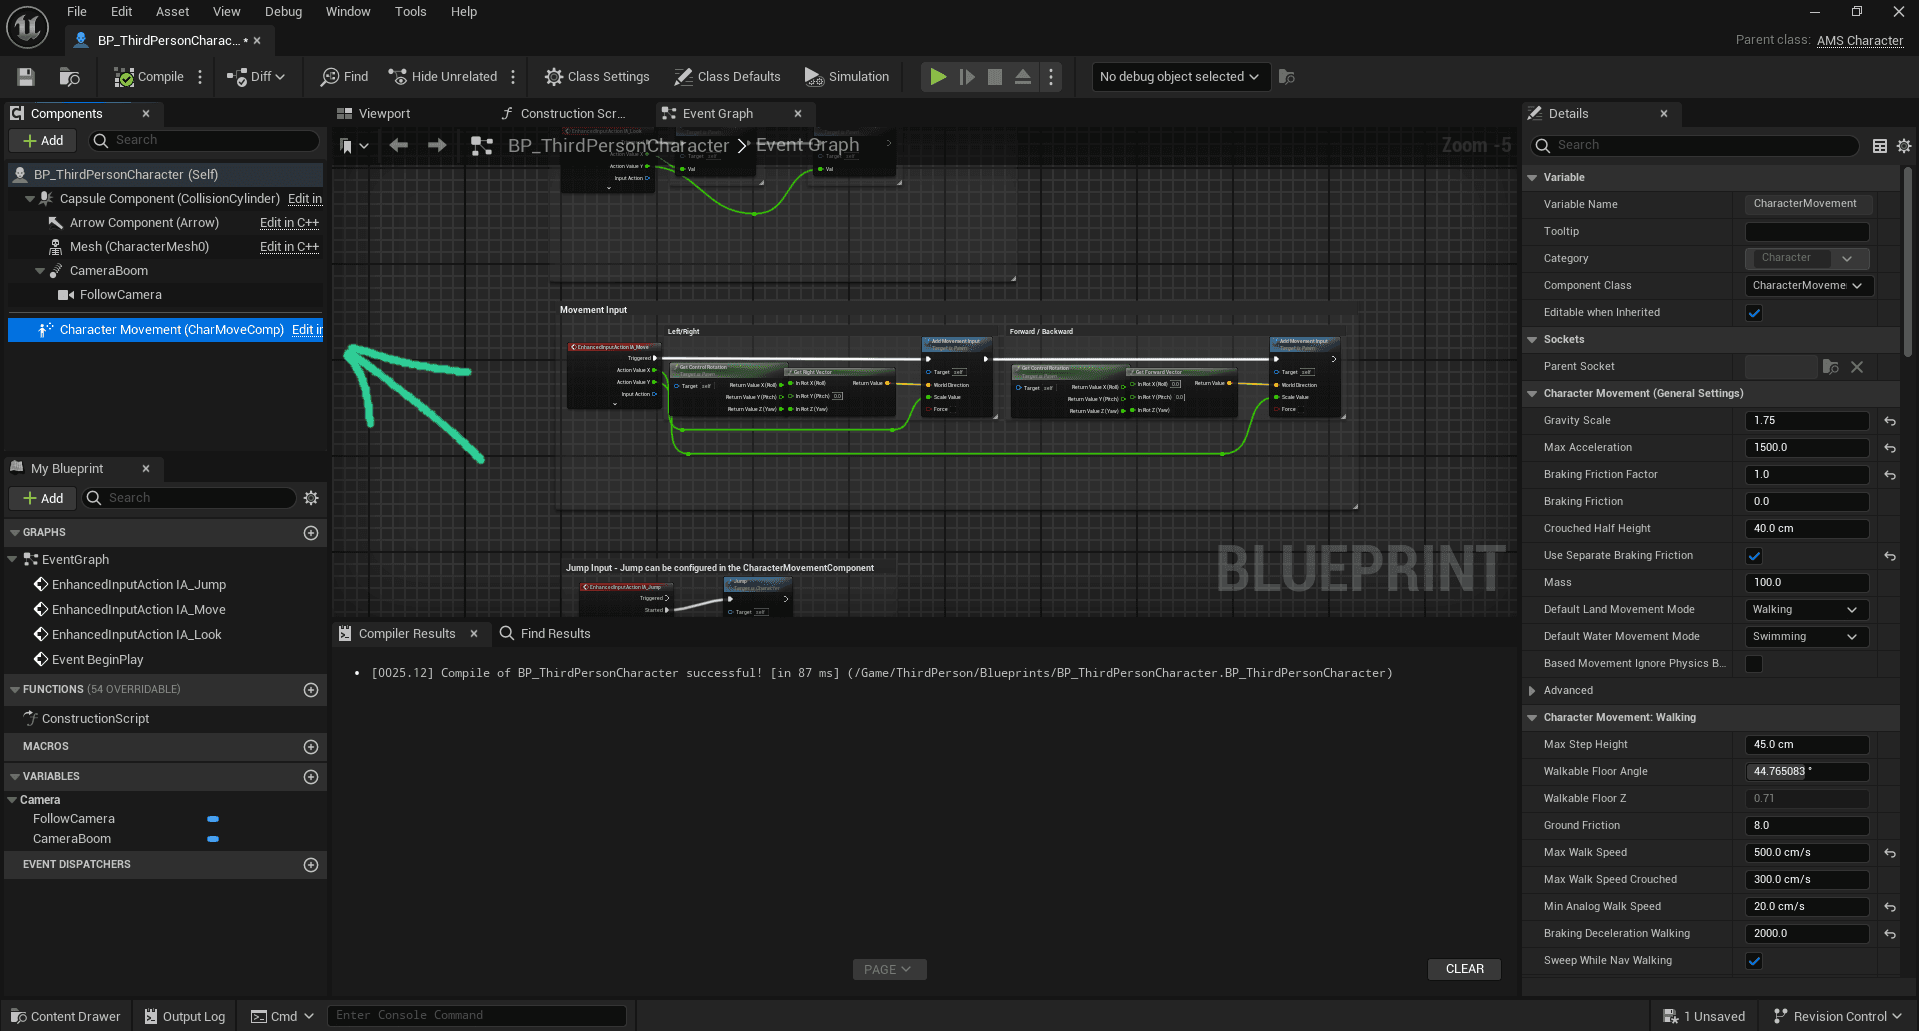
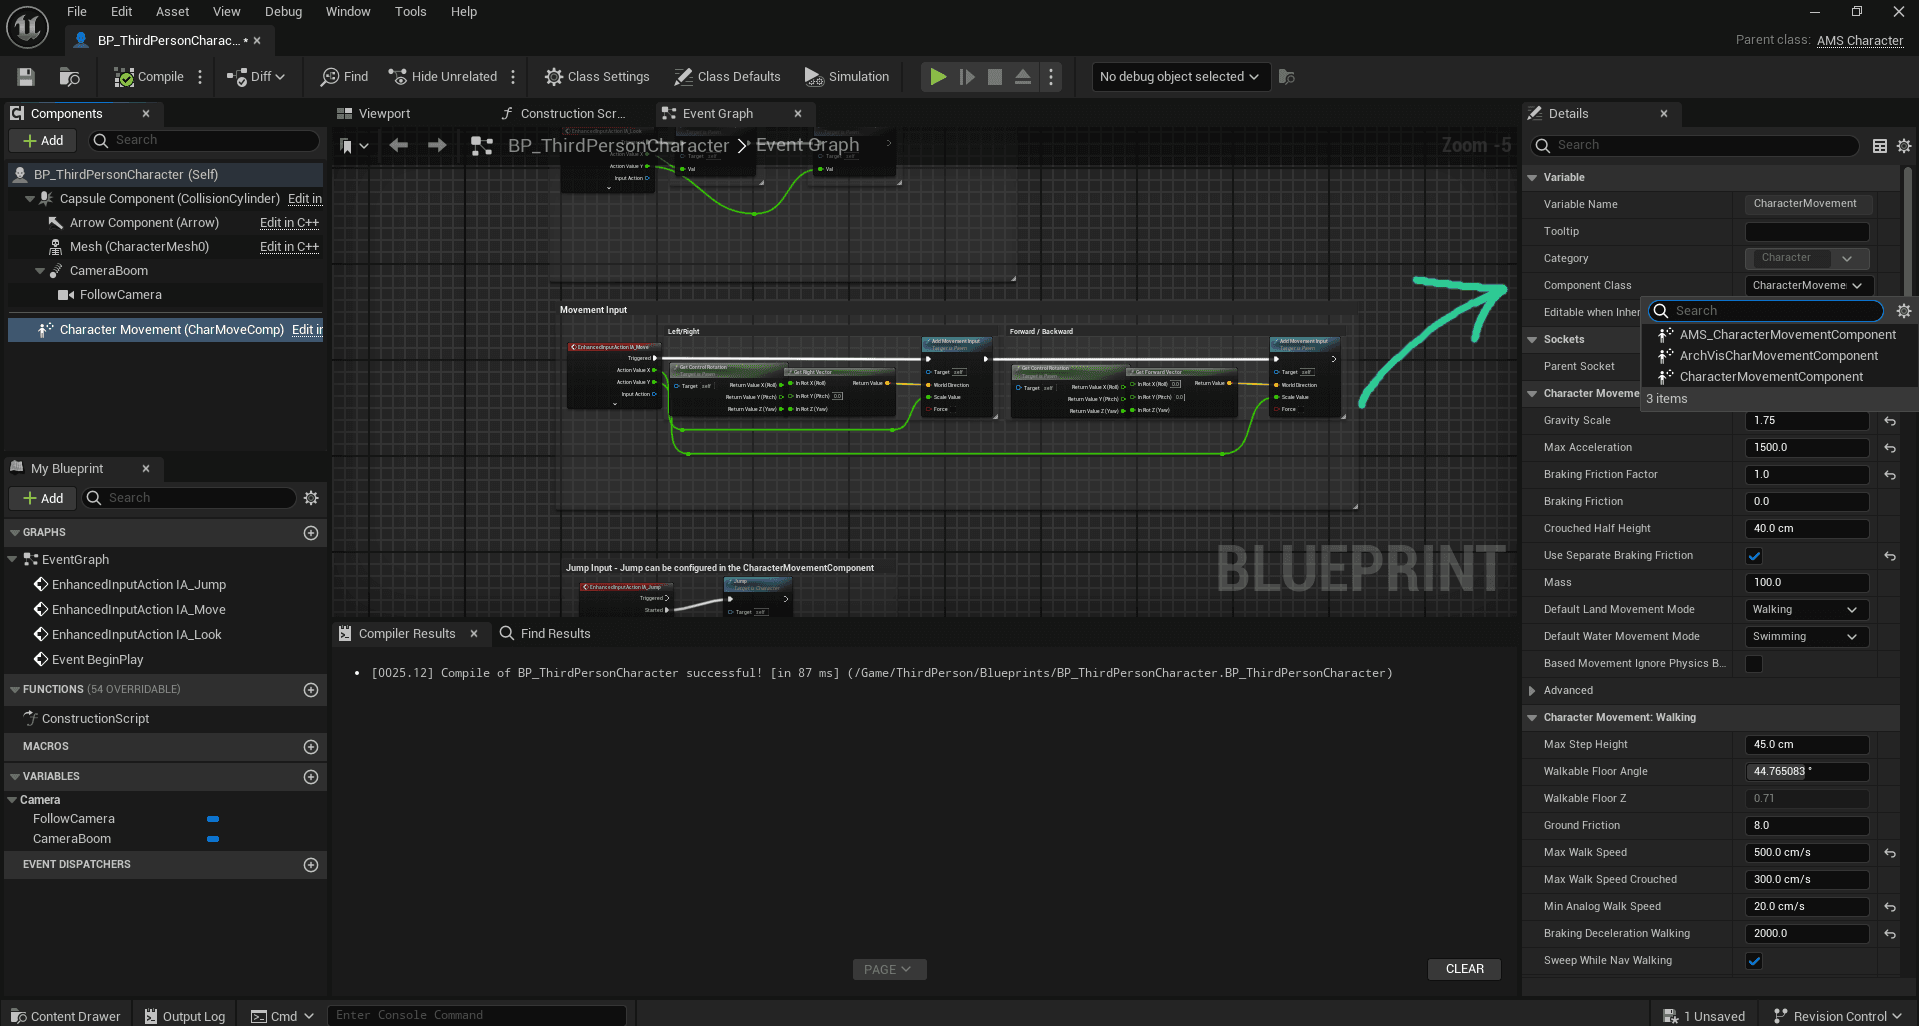
Click on the CharacterMovement of the character in the Components tab to access its settings. In the Details tab, change the default class in the Component class field to AMS_CharacterMovementComponent.
Test the plugin
Everything is now set up, and you are ready to use the plugin! To get started, we will perform a simple test to ensure that everything works as expected. We will replace the default code used to move the character with the MoveOnGround method from the plugin.
Right-click in the Event Graph and use the search bar to find the method MoveOnGround. Delete the old code and connect the method to the input.

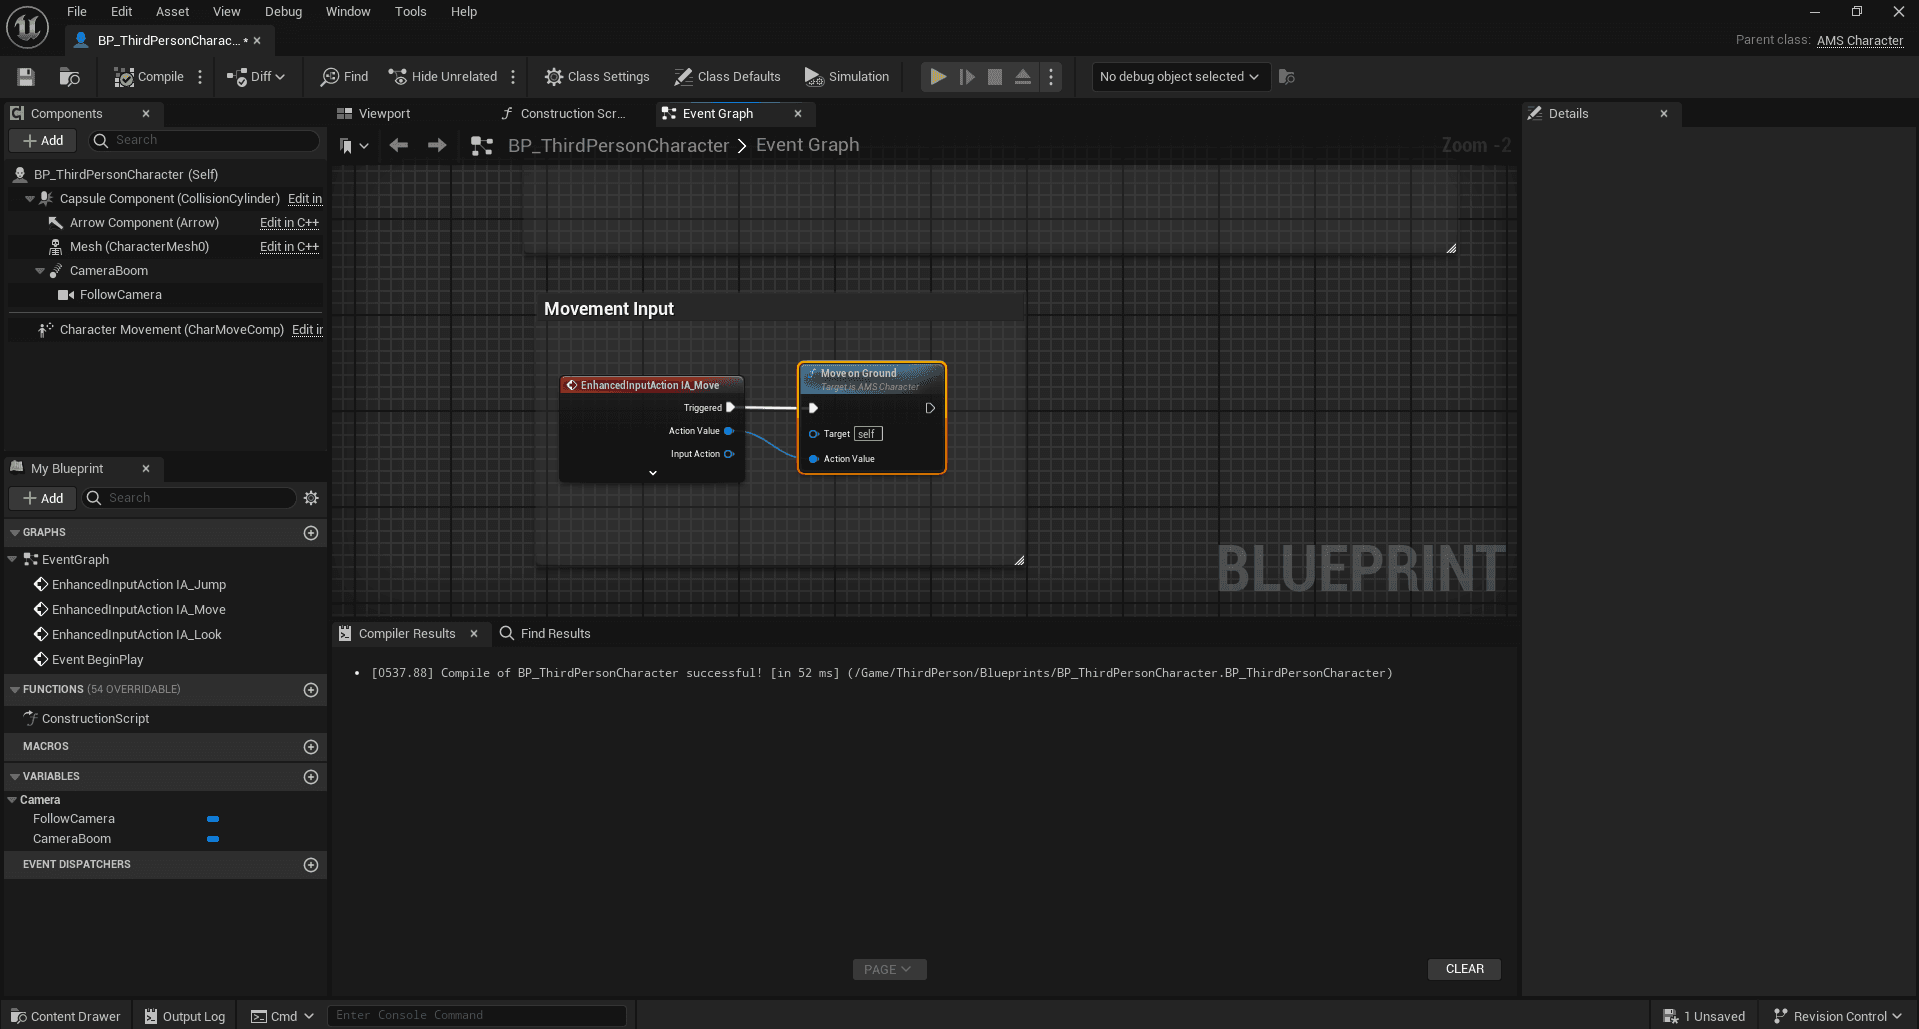
Your character should move as before. You are now ready!